

Front-End vs Back-End
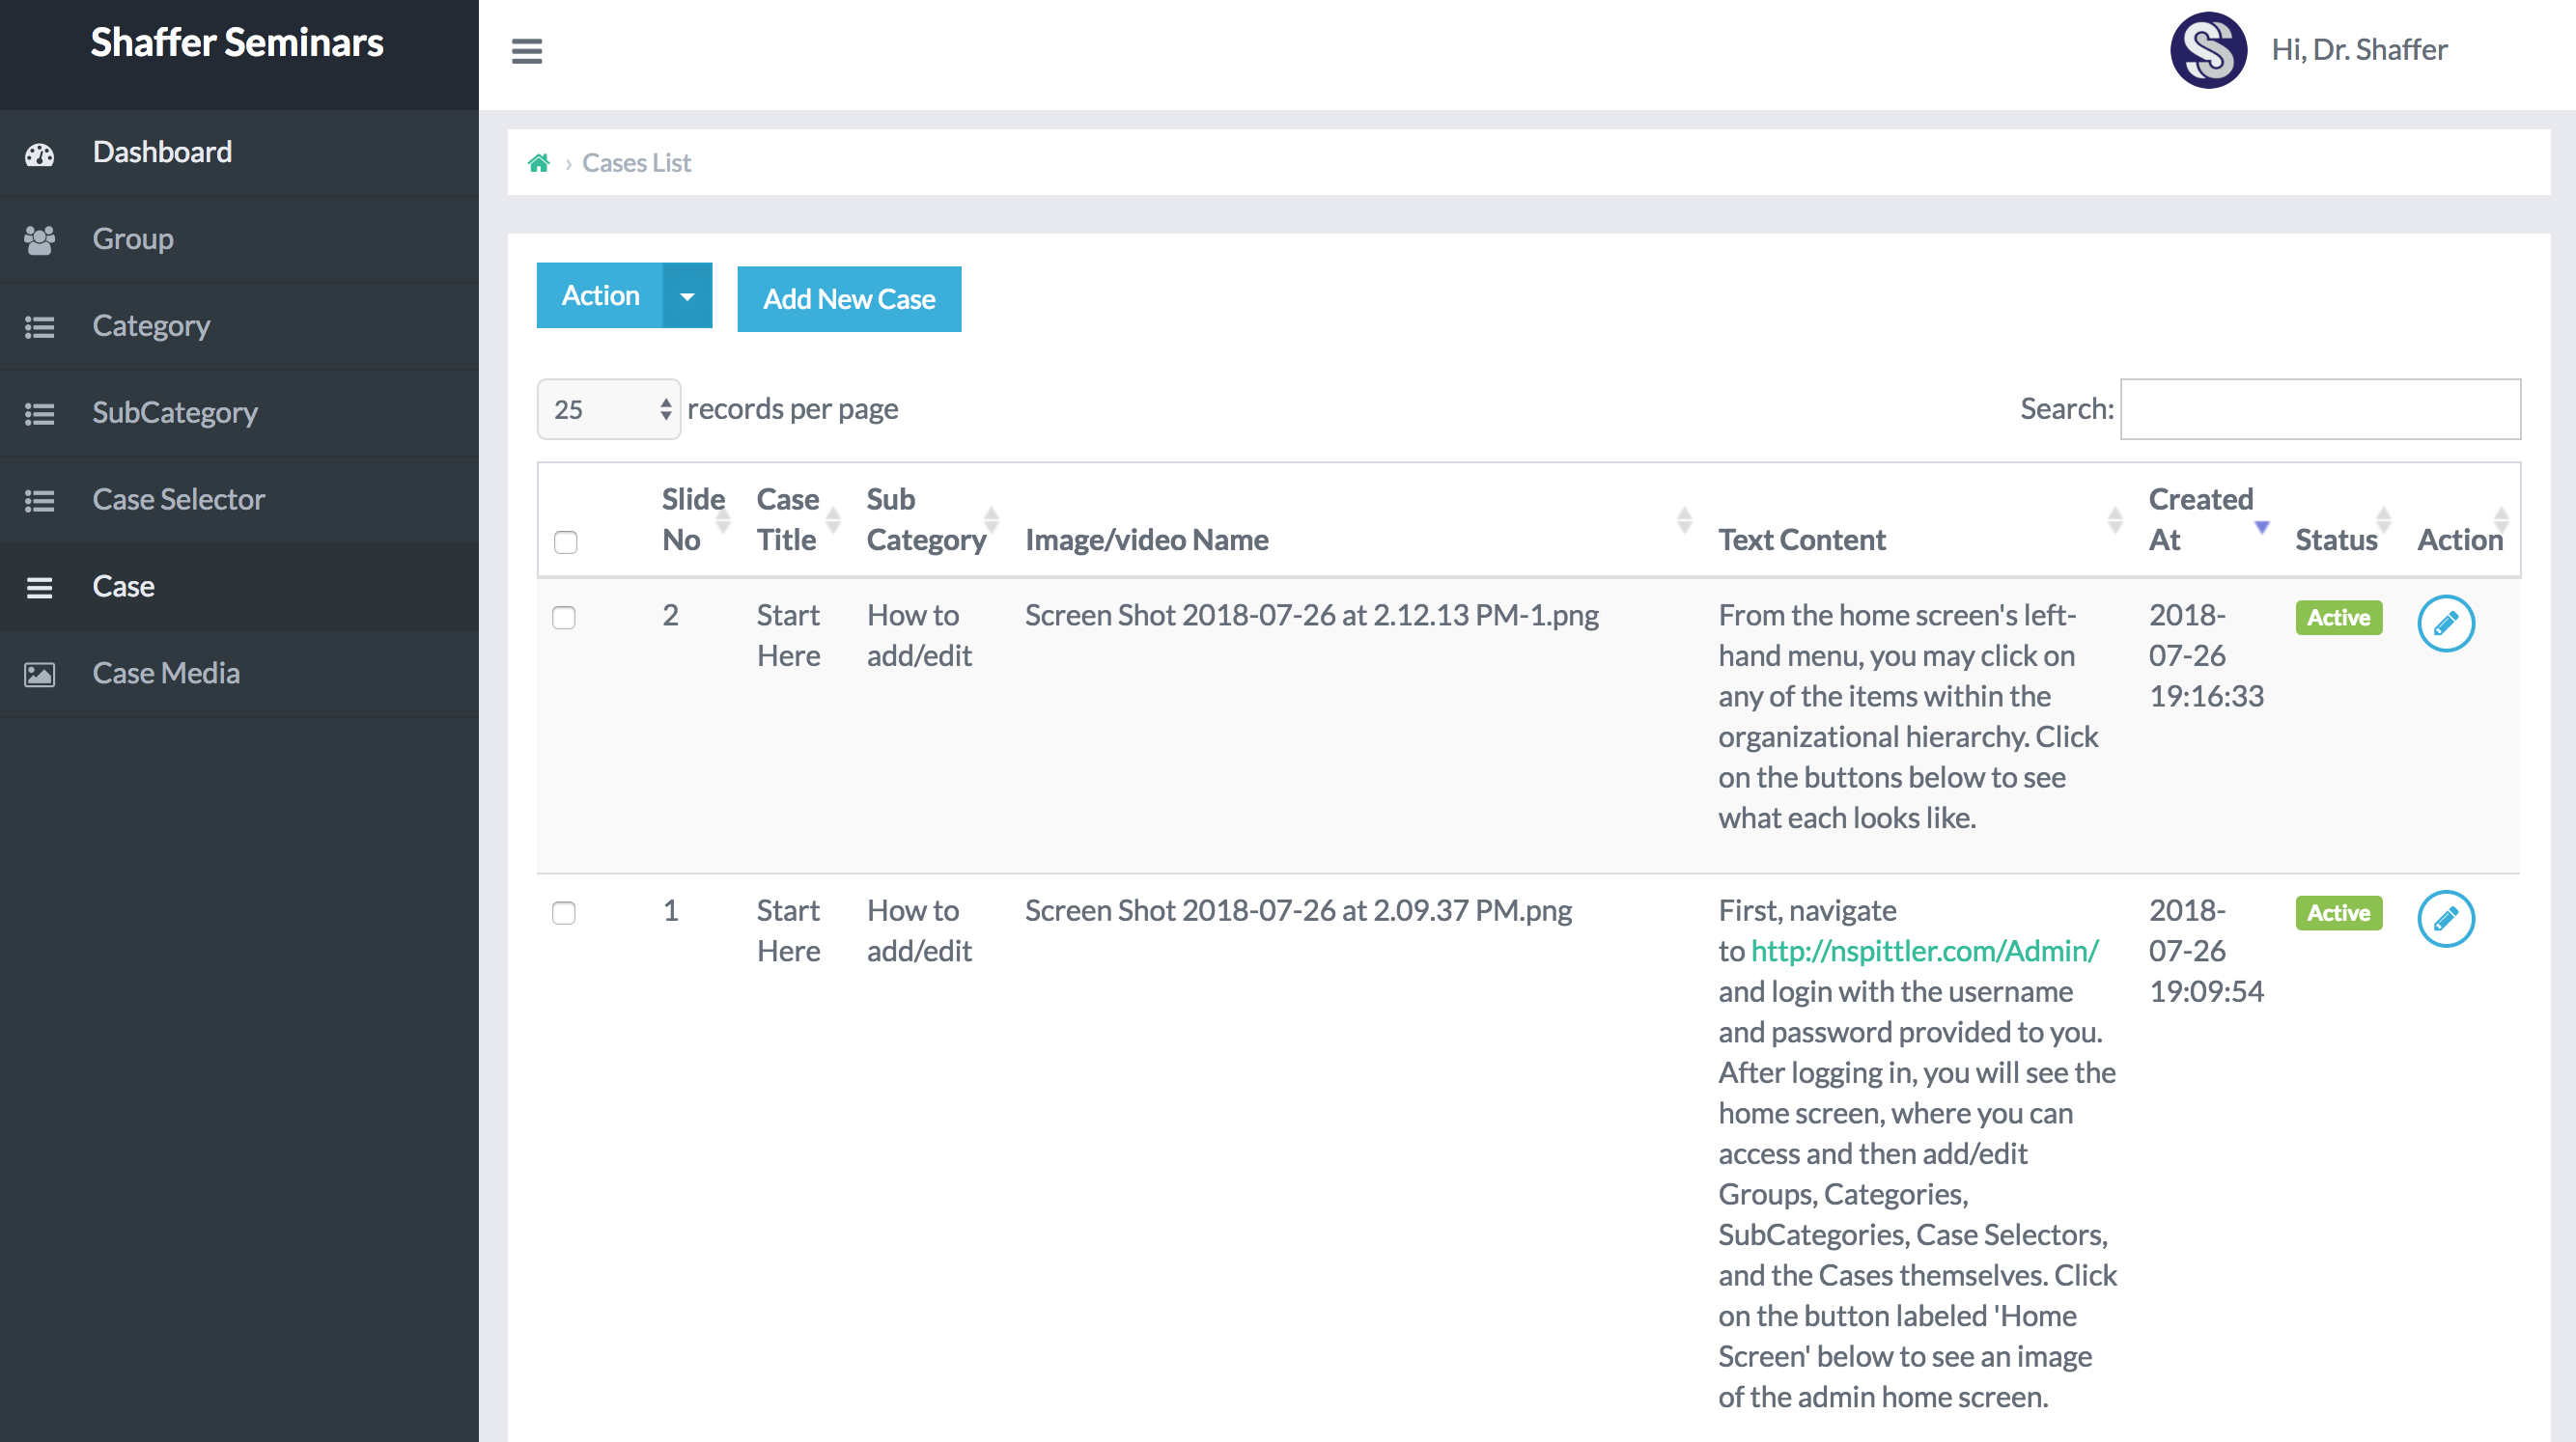
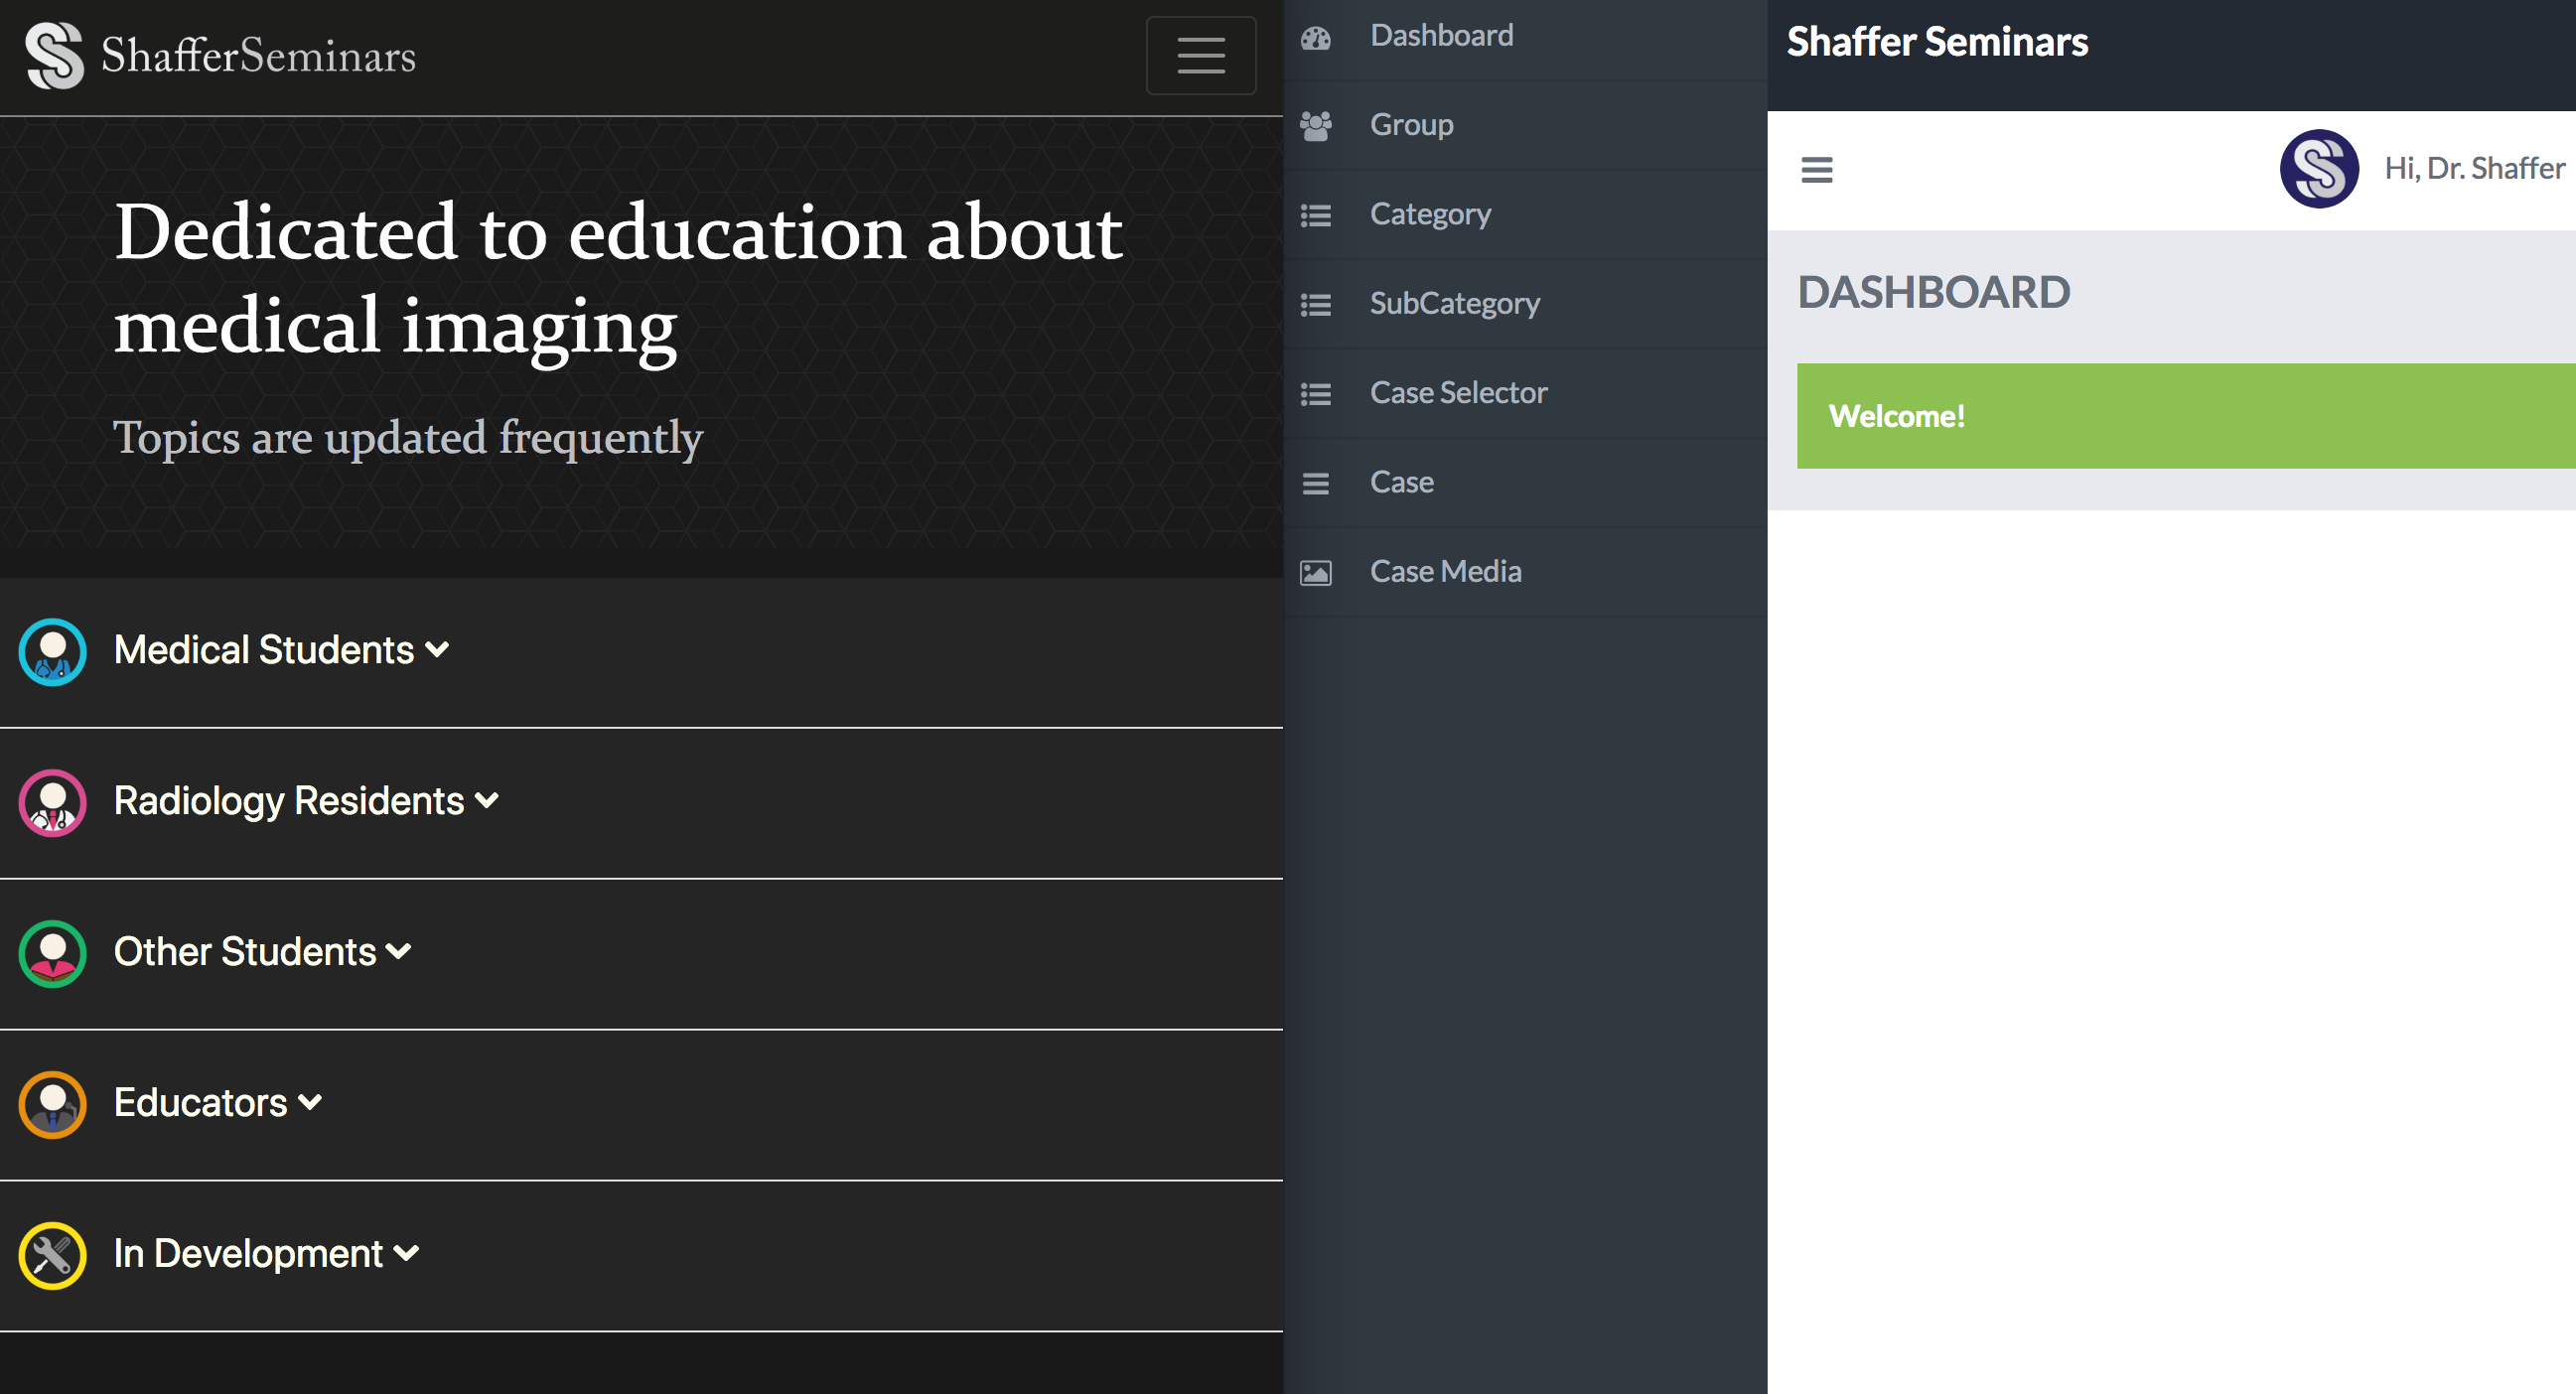
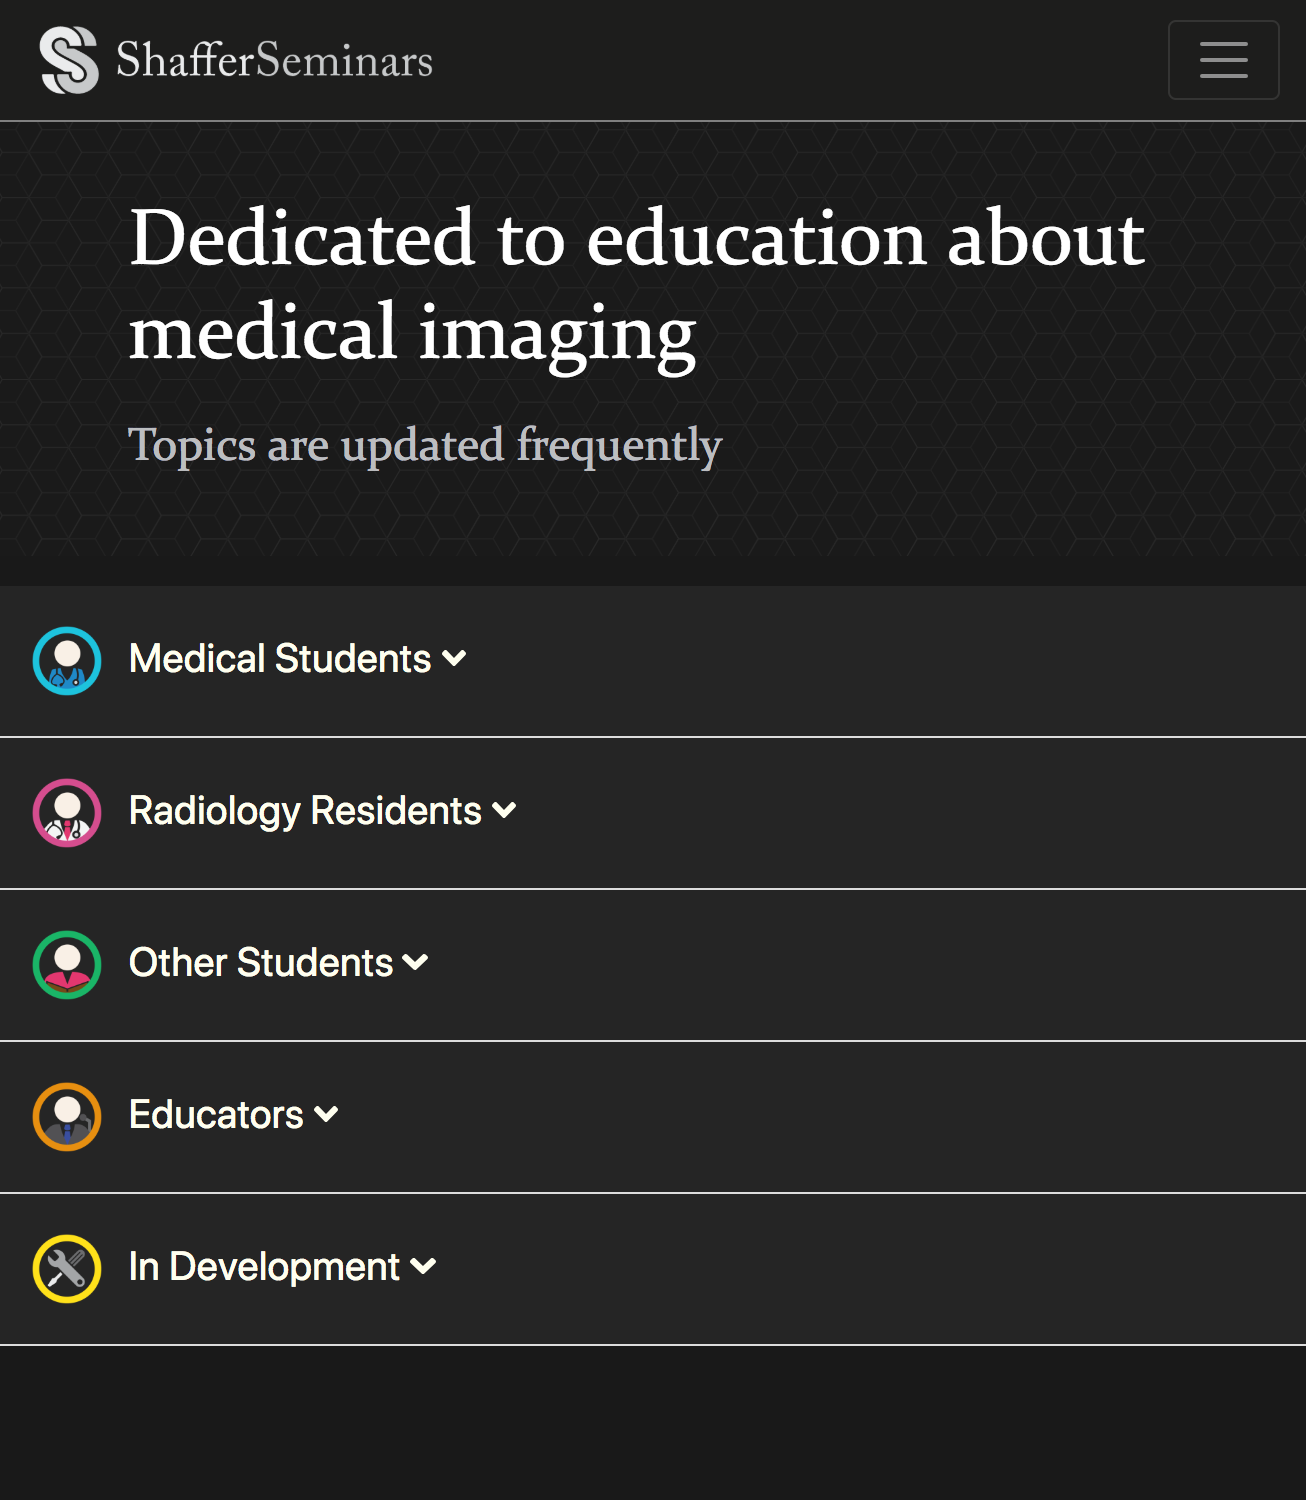
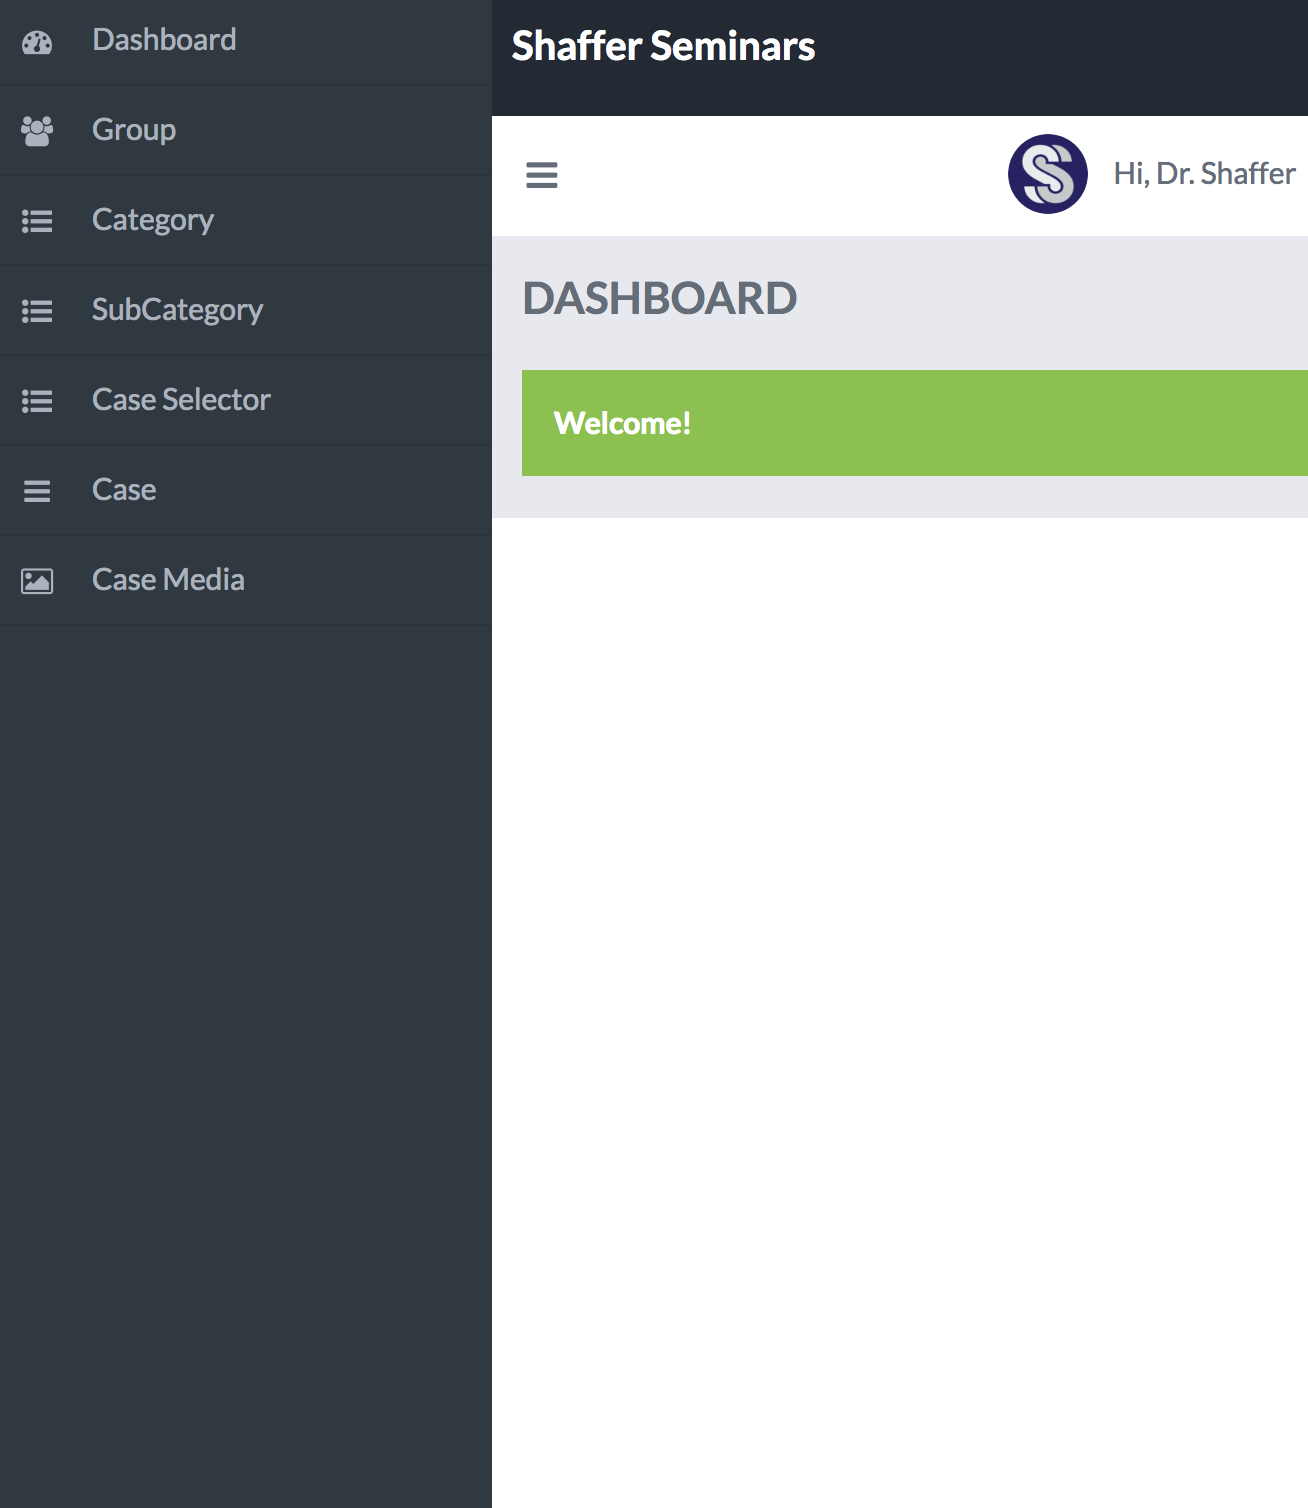
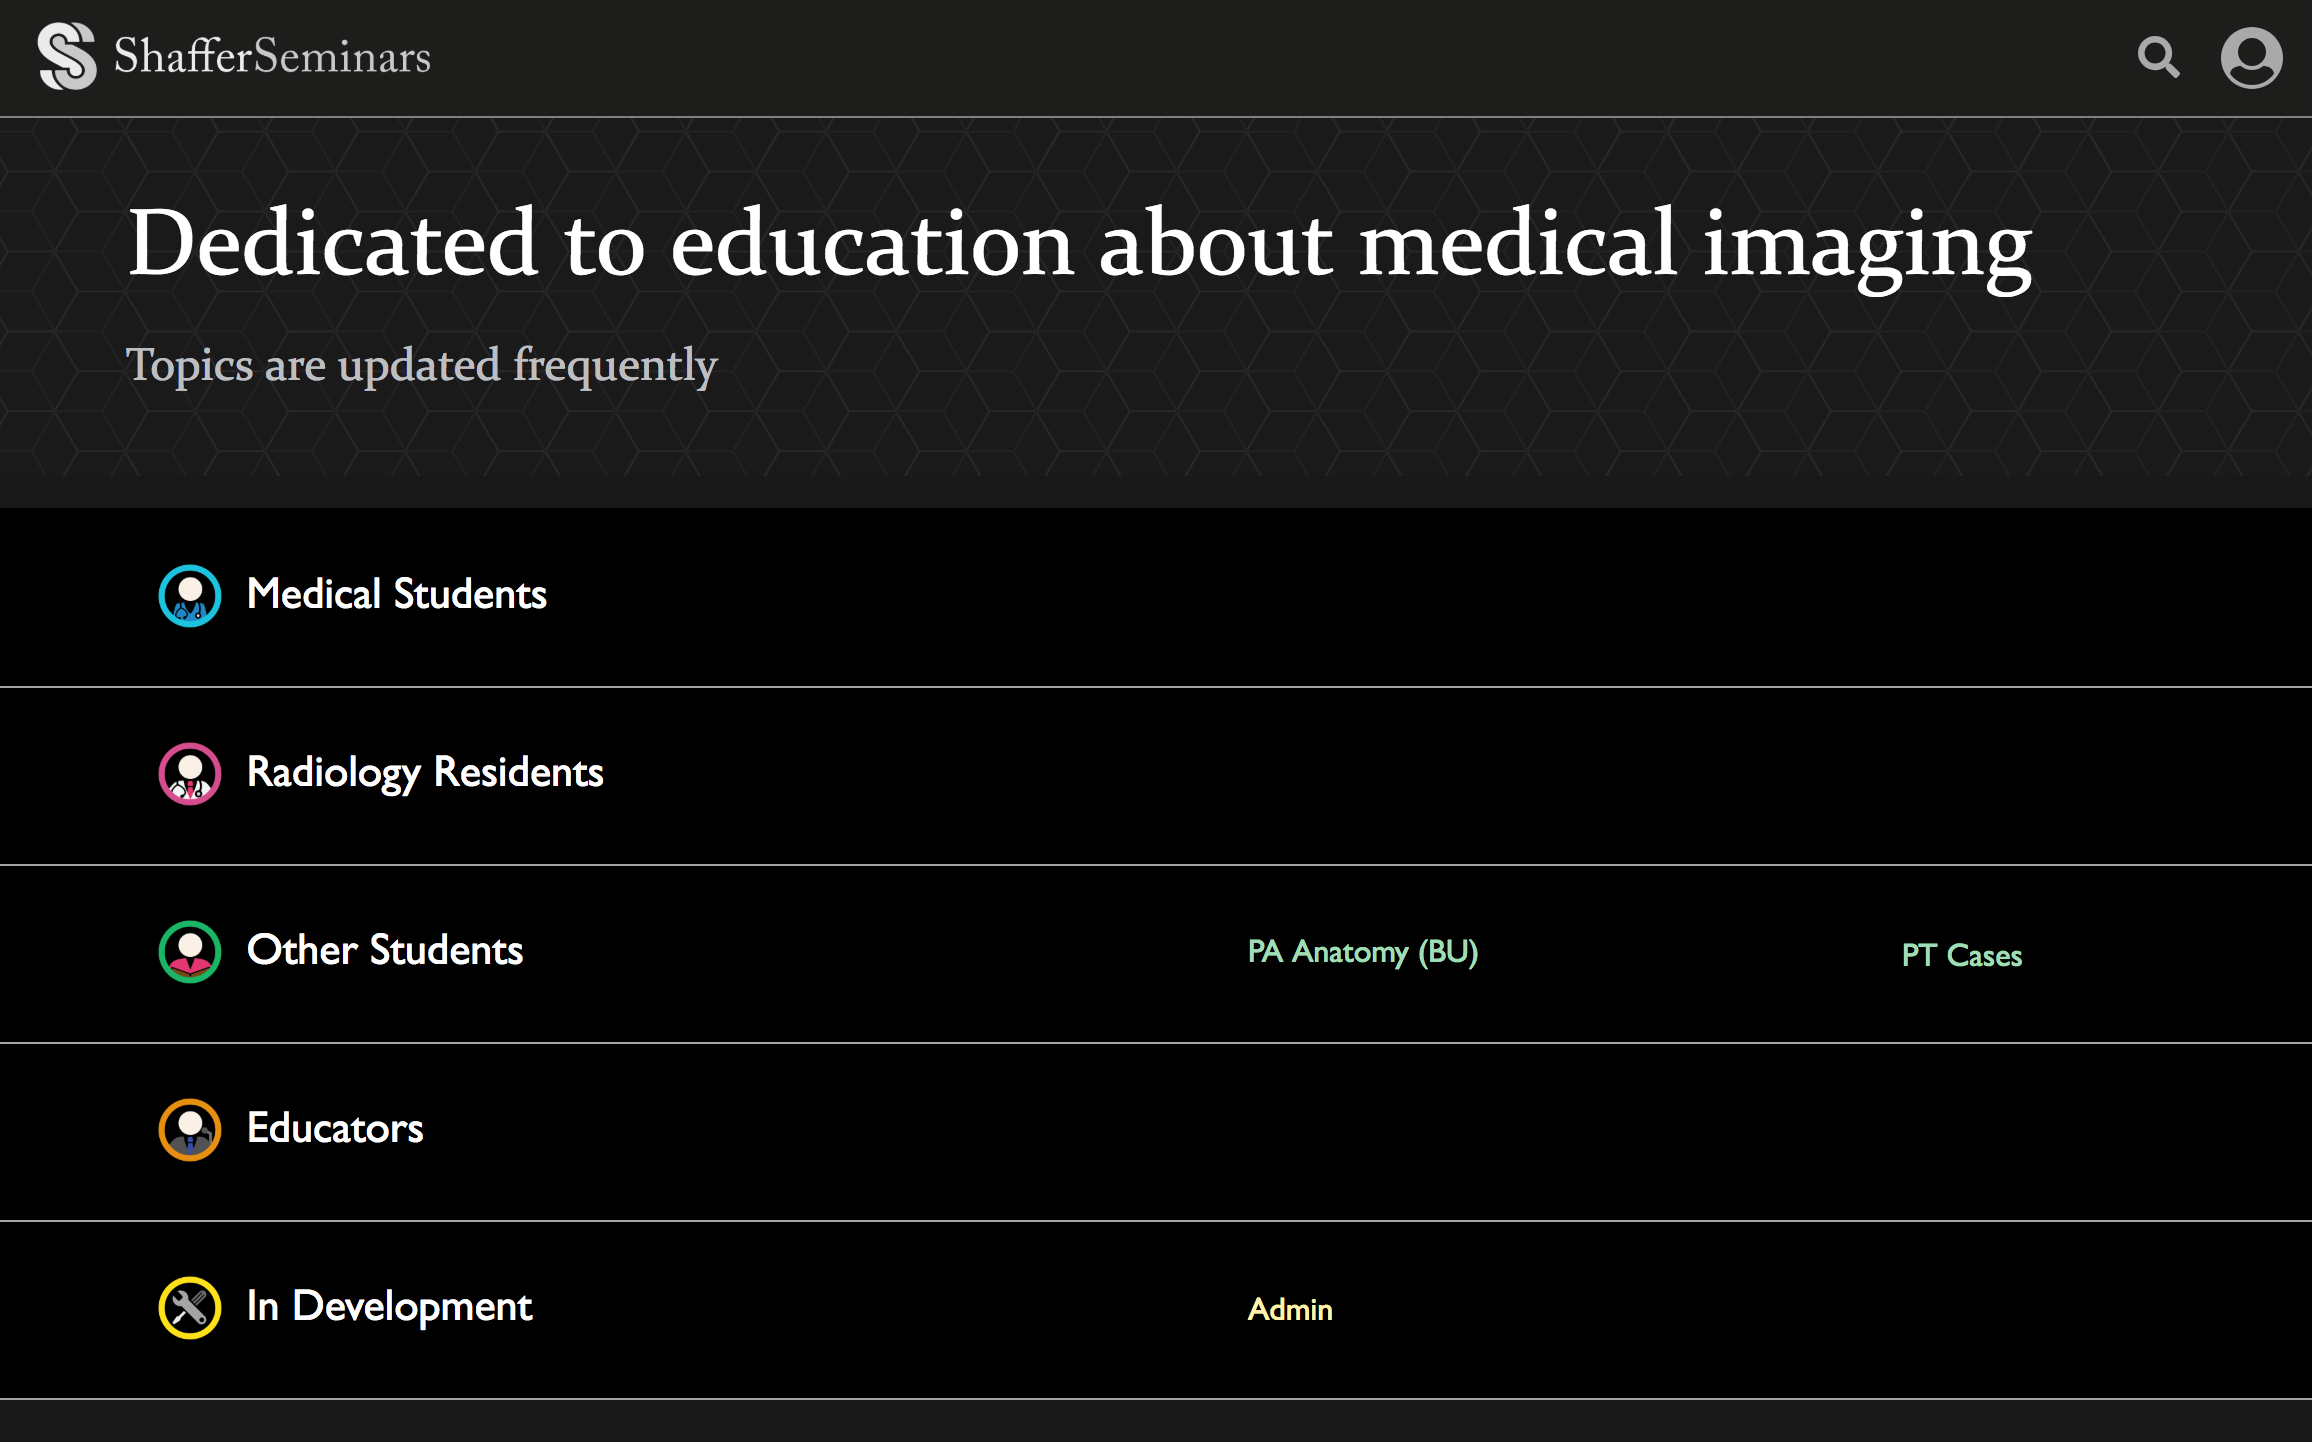
Here, I'll give you side-by-side comparisons of Shaffer Seminar's front-end and back-end. The front-end is what the users see, and the back-end is where you manage the front-end. The back-end is where you edit group names, add categories, add new cases, images, videos, etc.
Further Explanation:
Click on the buttons below to see each image individually.
Further Explanation:
1) Groups:
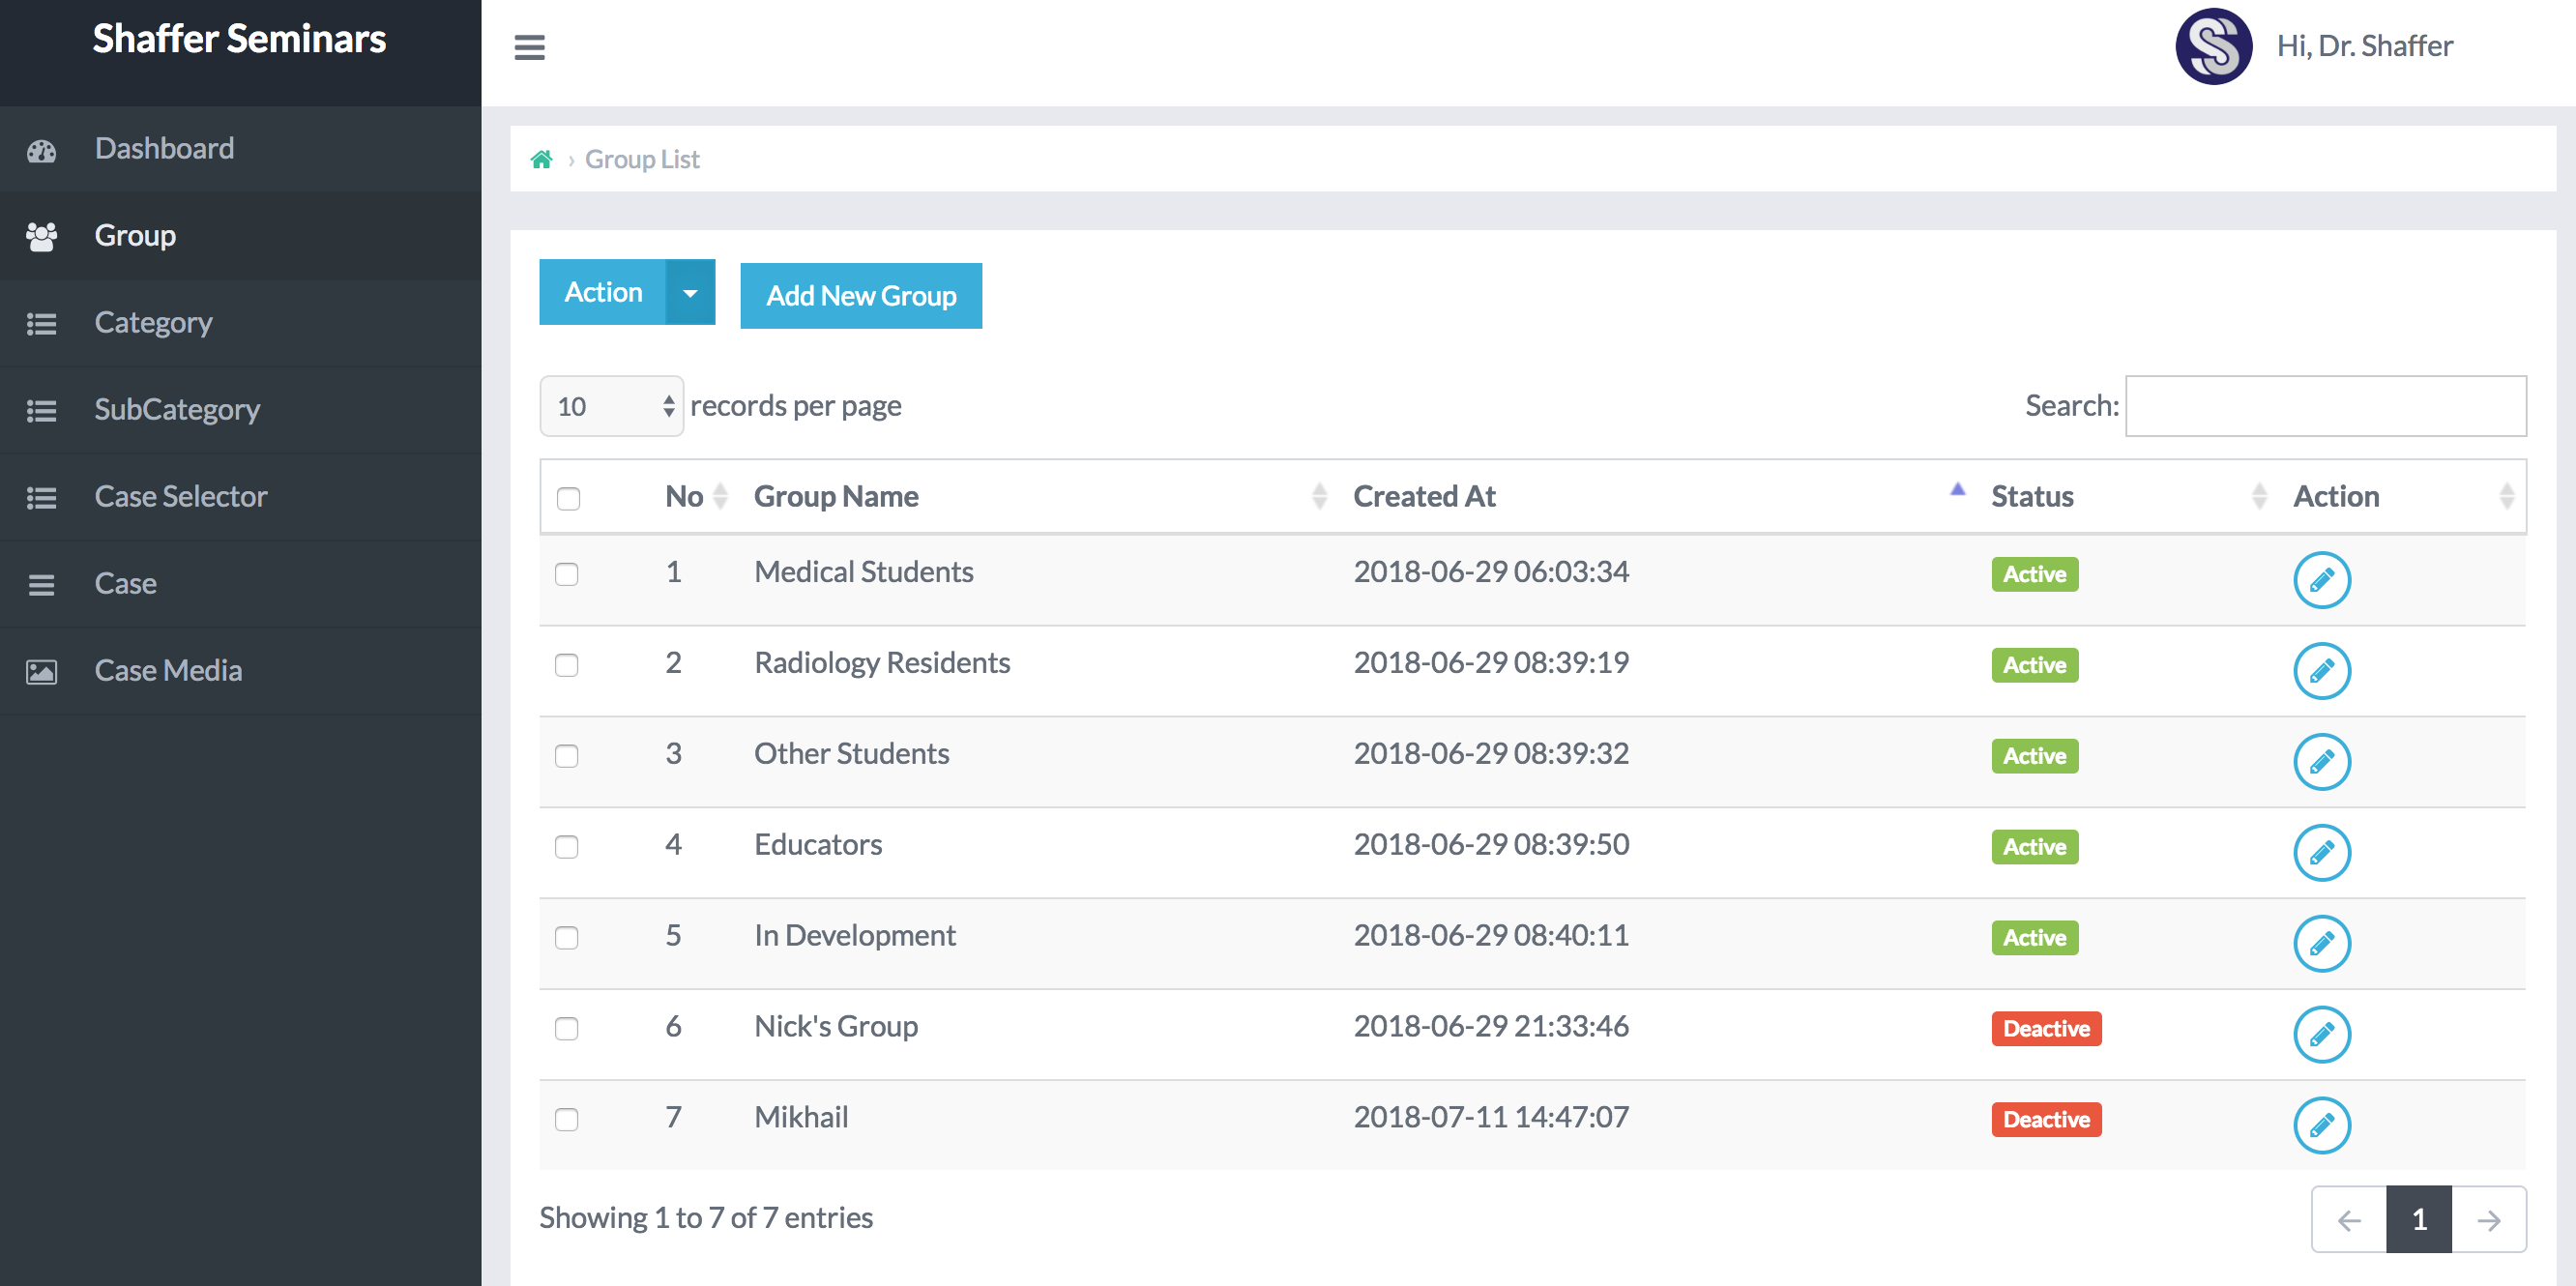
You are already aware that the 5 major groups are the following: Medical Students, Radiology Residents, Other Students, Educators, and In Development. These groups, along with their categories, are all visible from the Shaffer Seminar homepage.
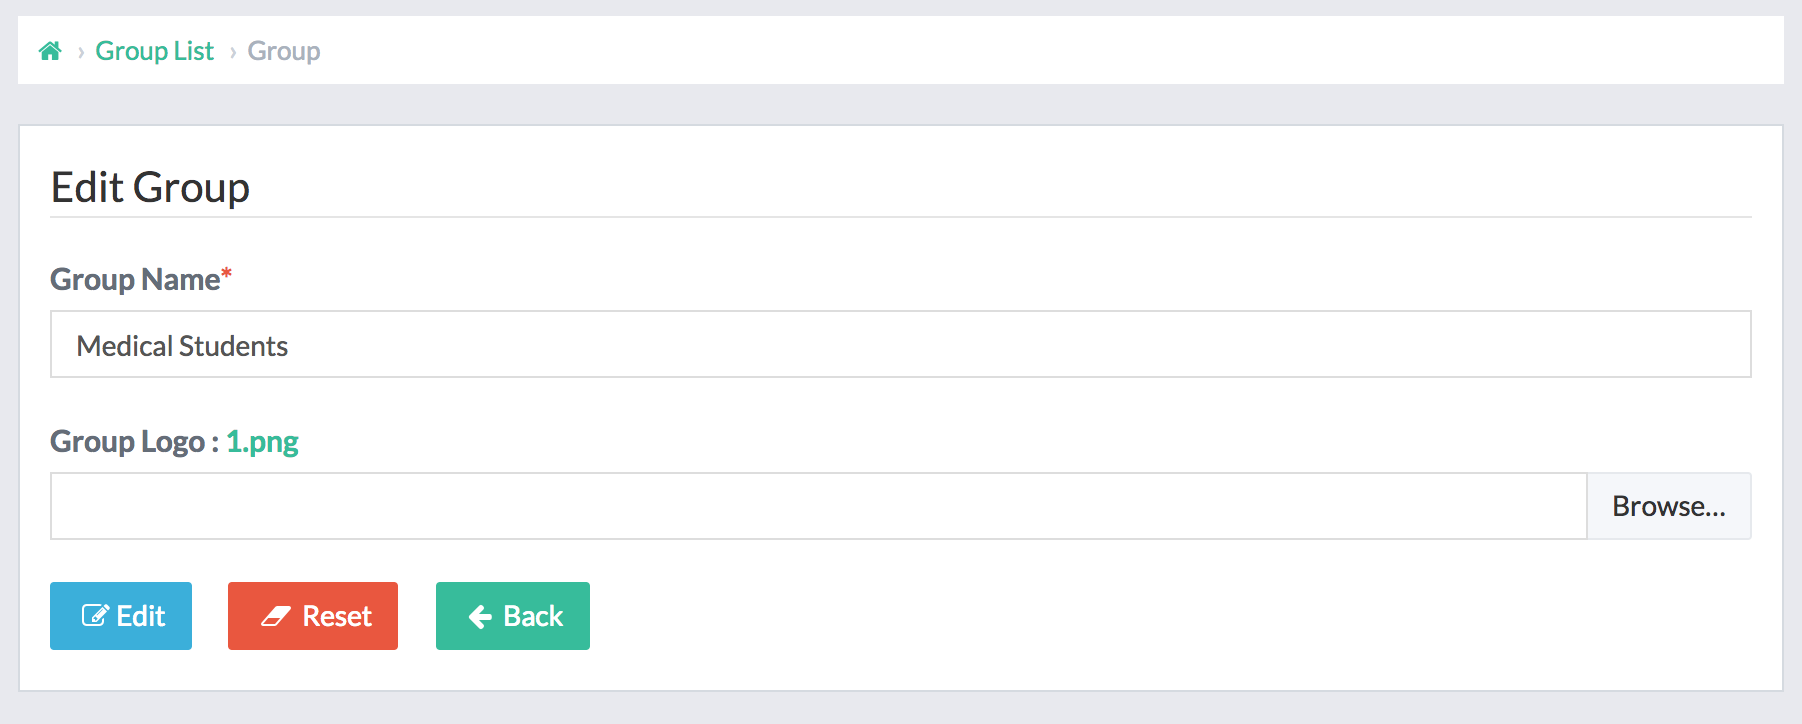
Now, please click on one of the pencil icons within the Group page, where you can edit the group's name and logo.
If you make a change you'd like to save, always click the button, which will save the changes and return you to the Group page. If you click the
button, you will return to the Group page, but your changes will not be saved.
Further Explanation:
2) Categories:
Right now, there are very few active categories listed on Dr. Shaffer's homepage. The reason for this is that the content from Dr. Shaffer's current site has not yet been transferred into this new format. This will be a significant undertaking, but will allow Dr. Shaffer and her colleagues to teach in a case-based format directly from an iPad. It will also allow students to access her content from tablets and phones, and enable users to dynamically search through her new site's entire contents. Additionally, we can create a student login, track user's answers to questions, add more interactive tools, and ultimately we will aim to optimize the educational value of her content.
Finally, Dr. Shaffer's prior process of adding new material was arduous, time-consuming, and oftentimes not compatible with modern browsers. This new site intends to simply that process substantially, allowing Dr. Shaffer to easily add new cases, content, and images in the future.
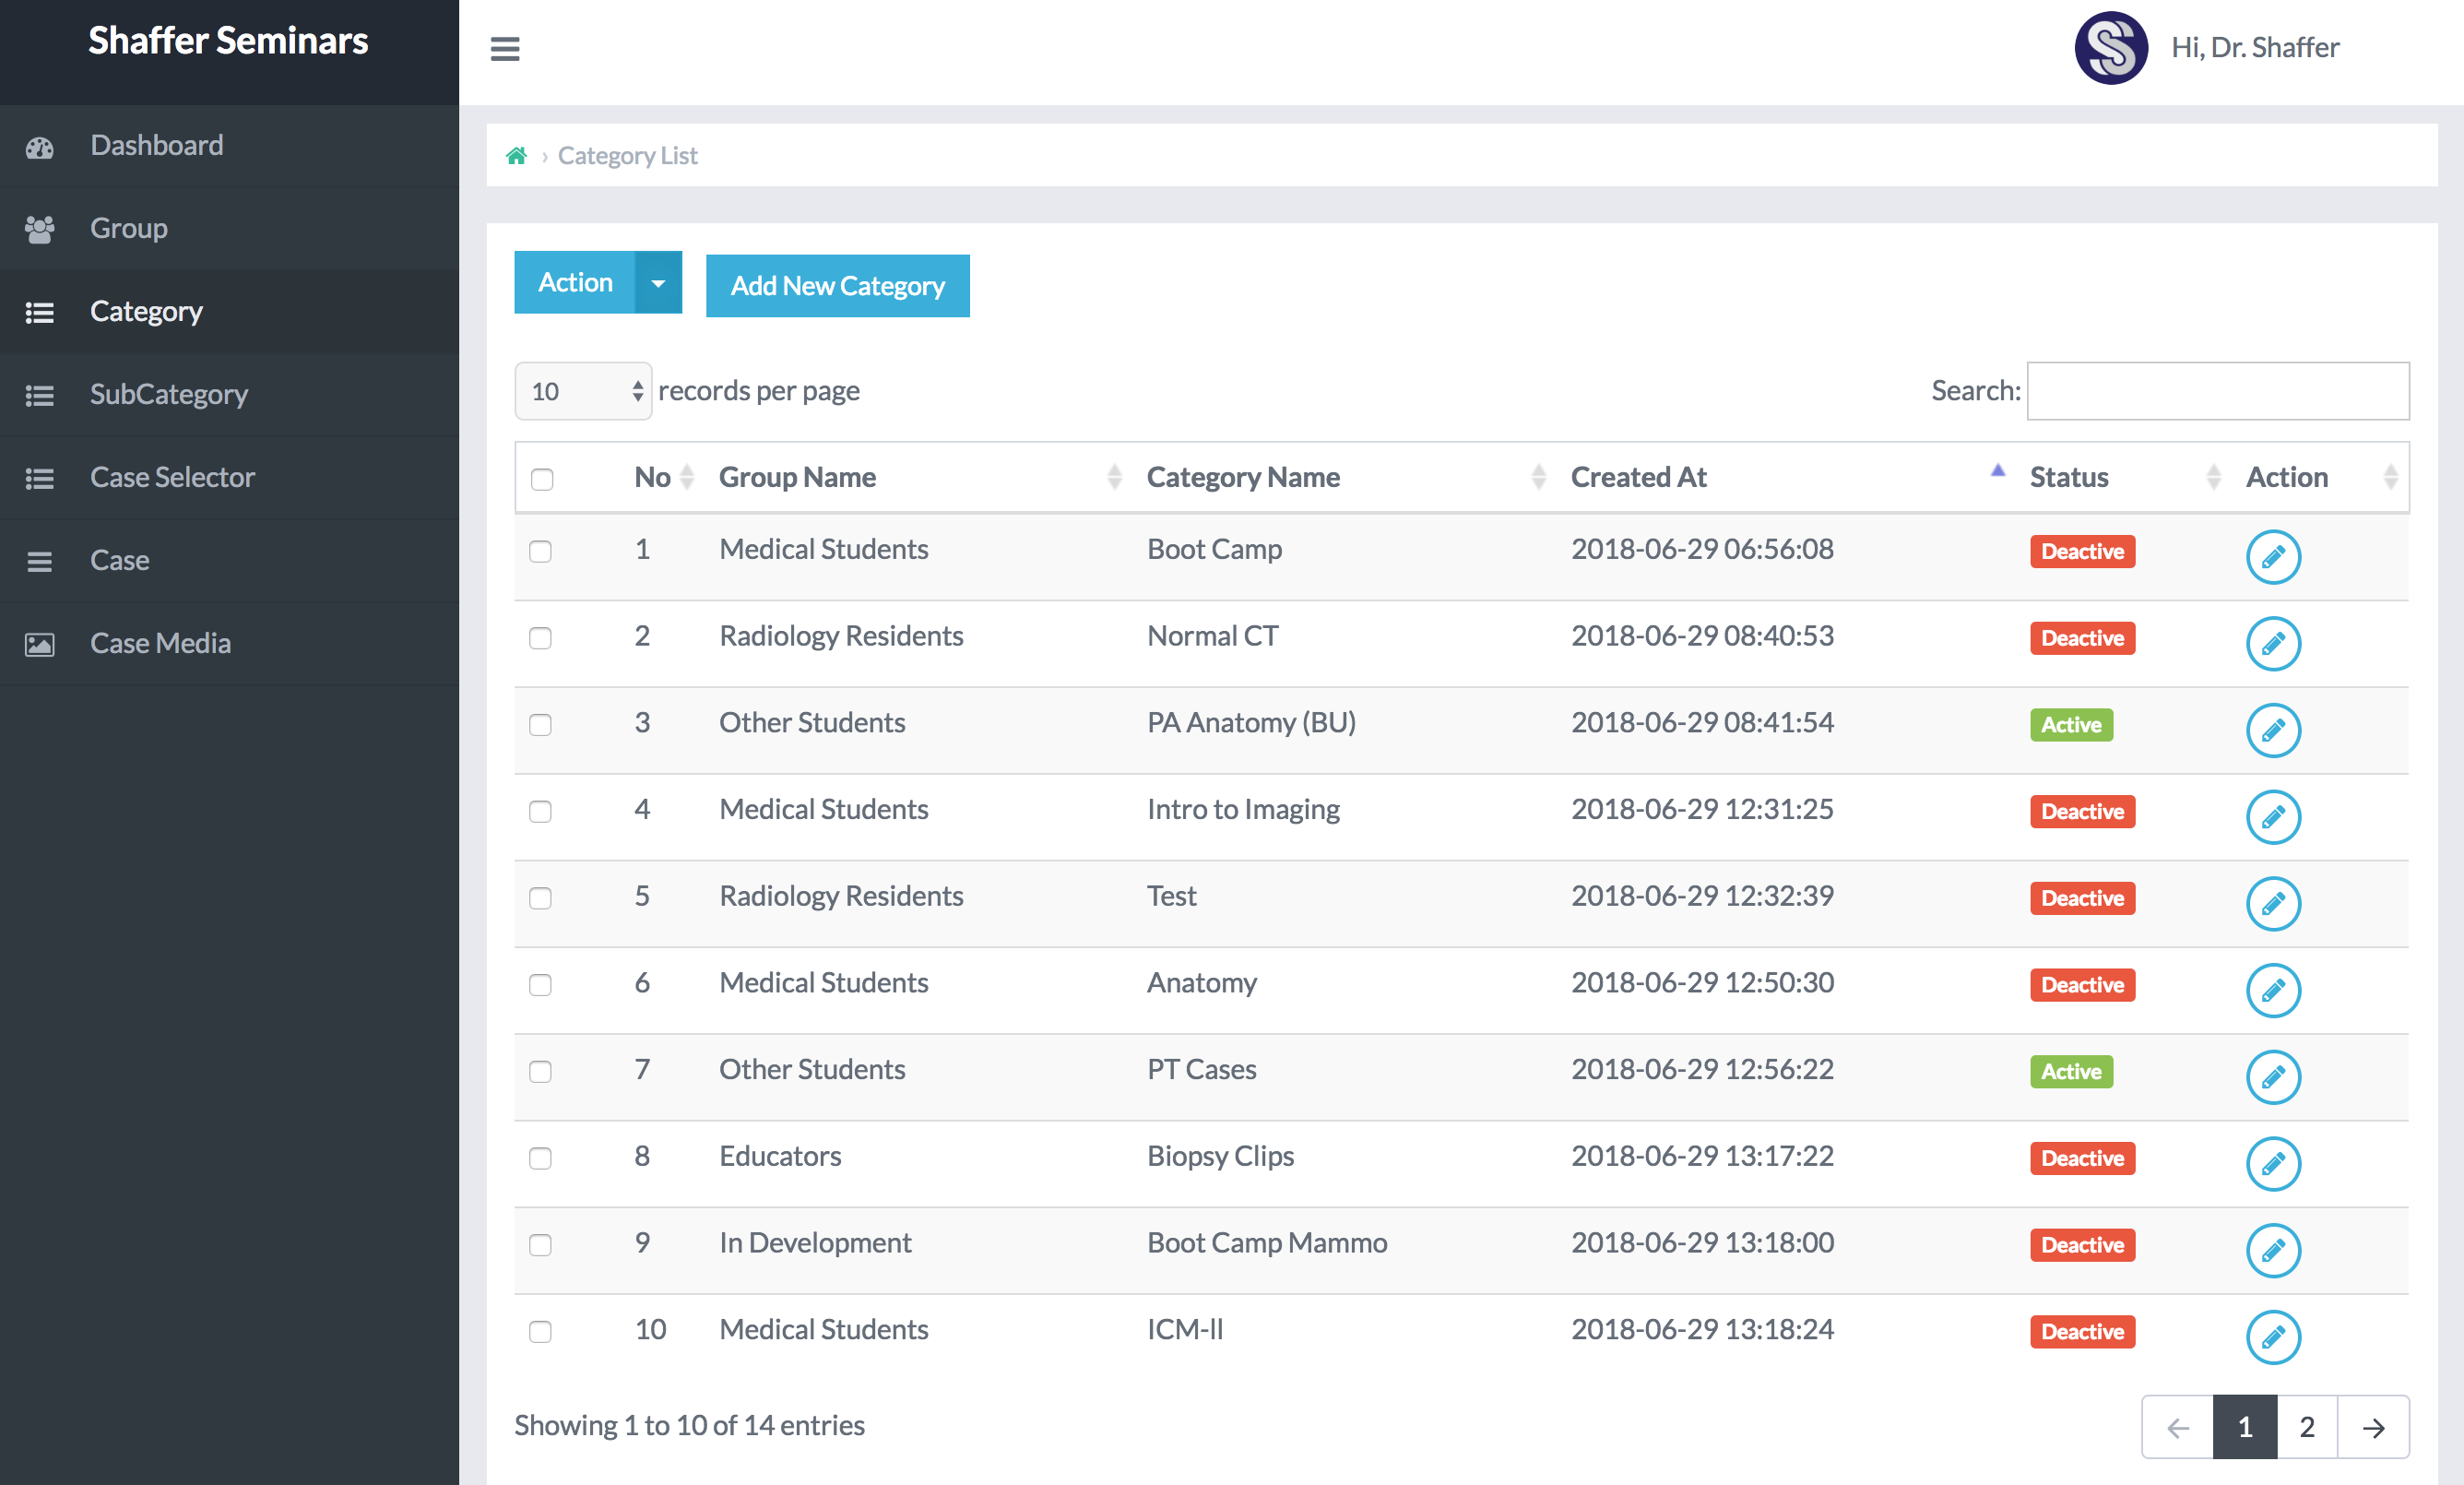
Question 1:
What attributes are tied to each category?
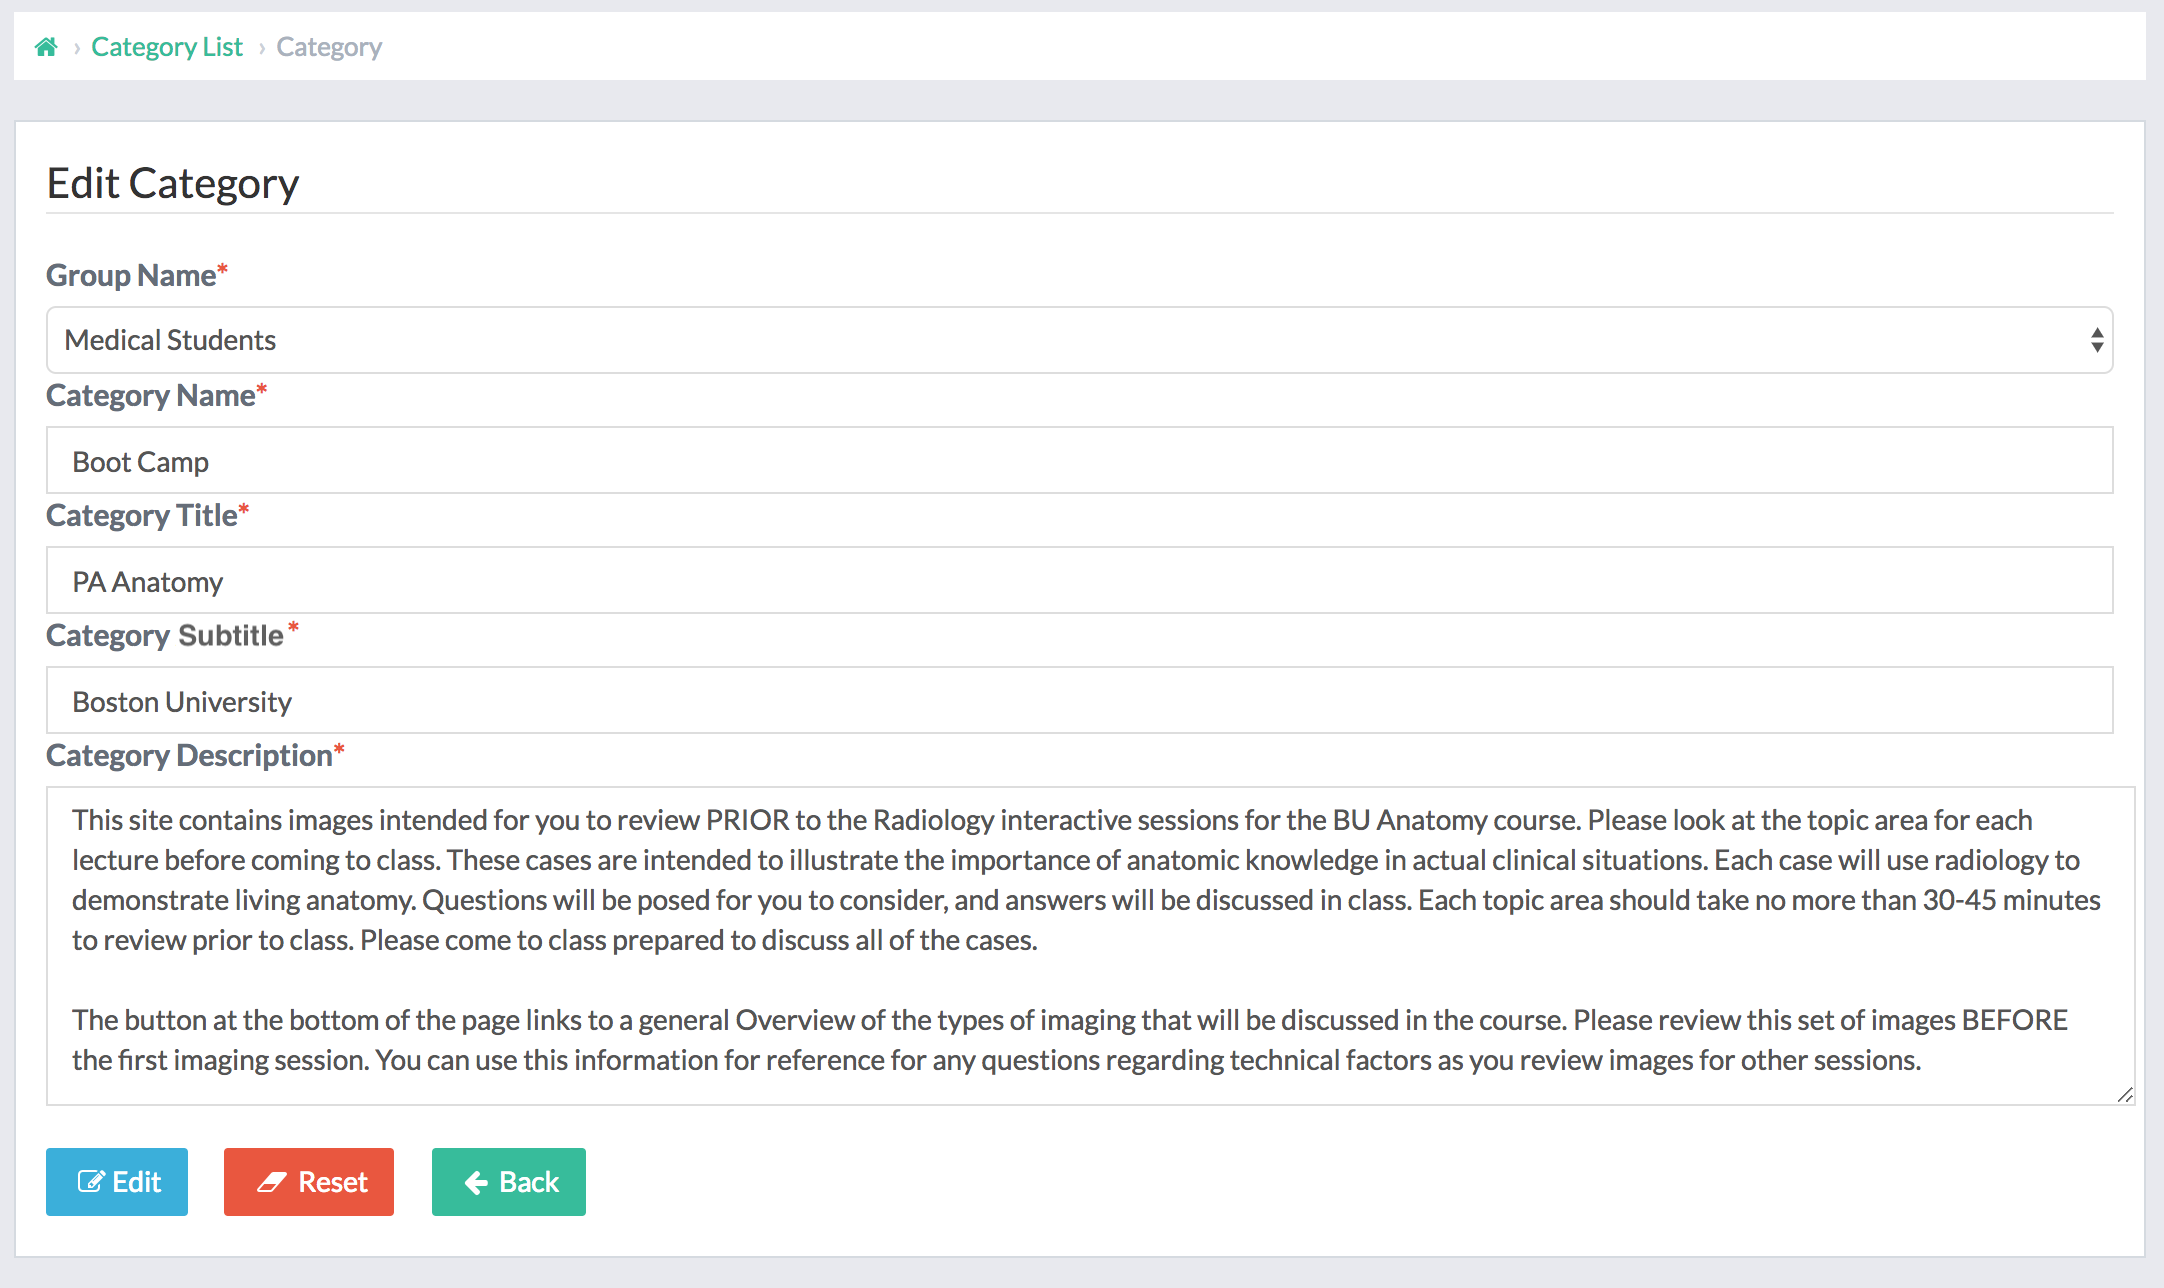
1. Group Name: each category must be nested within a group
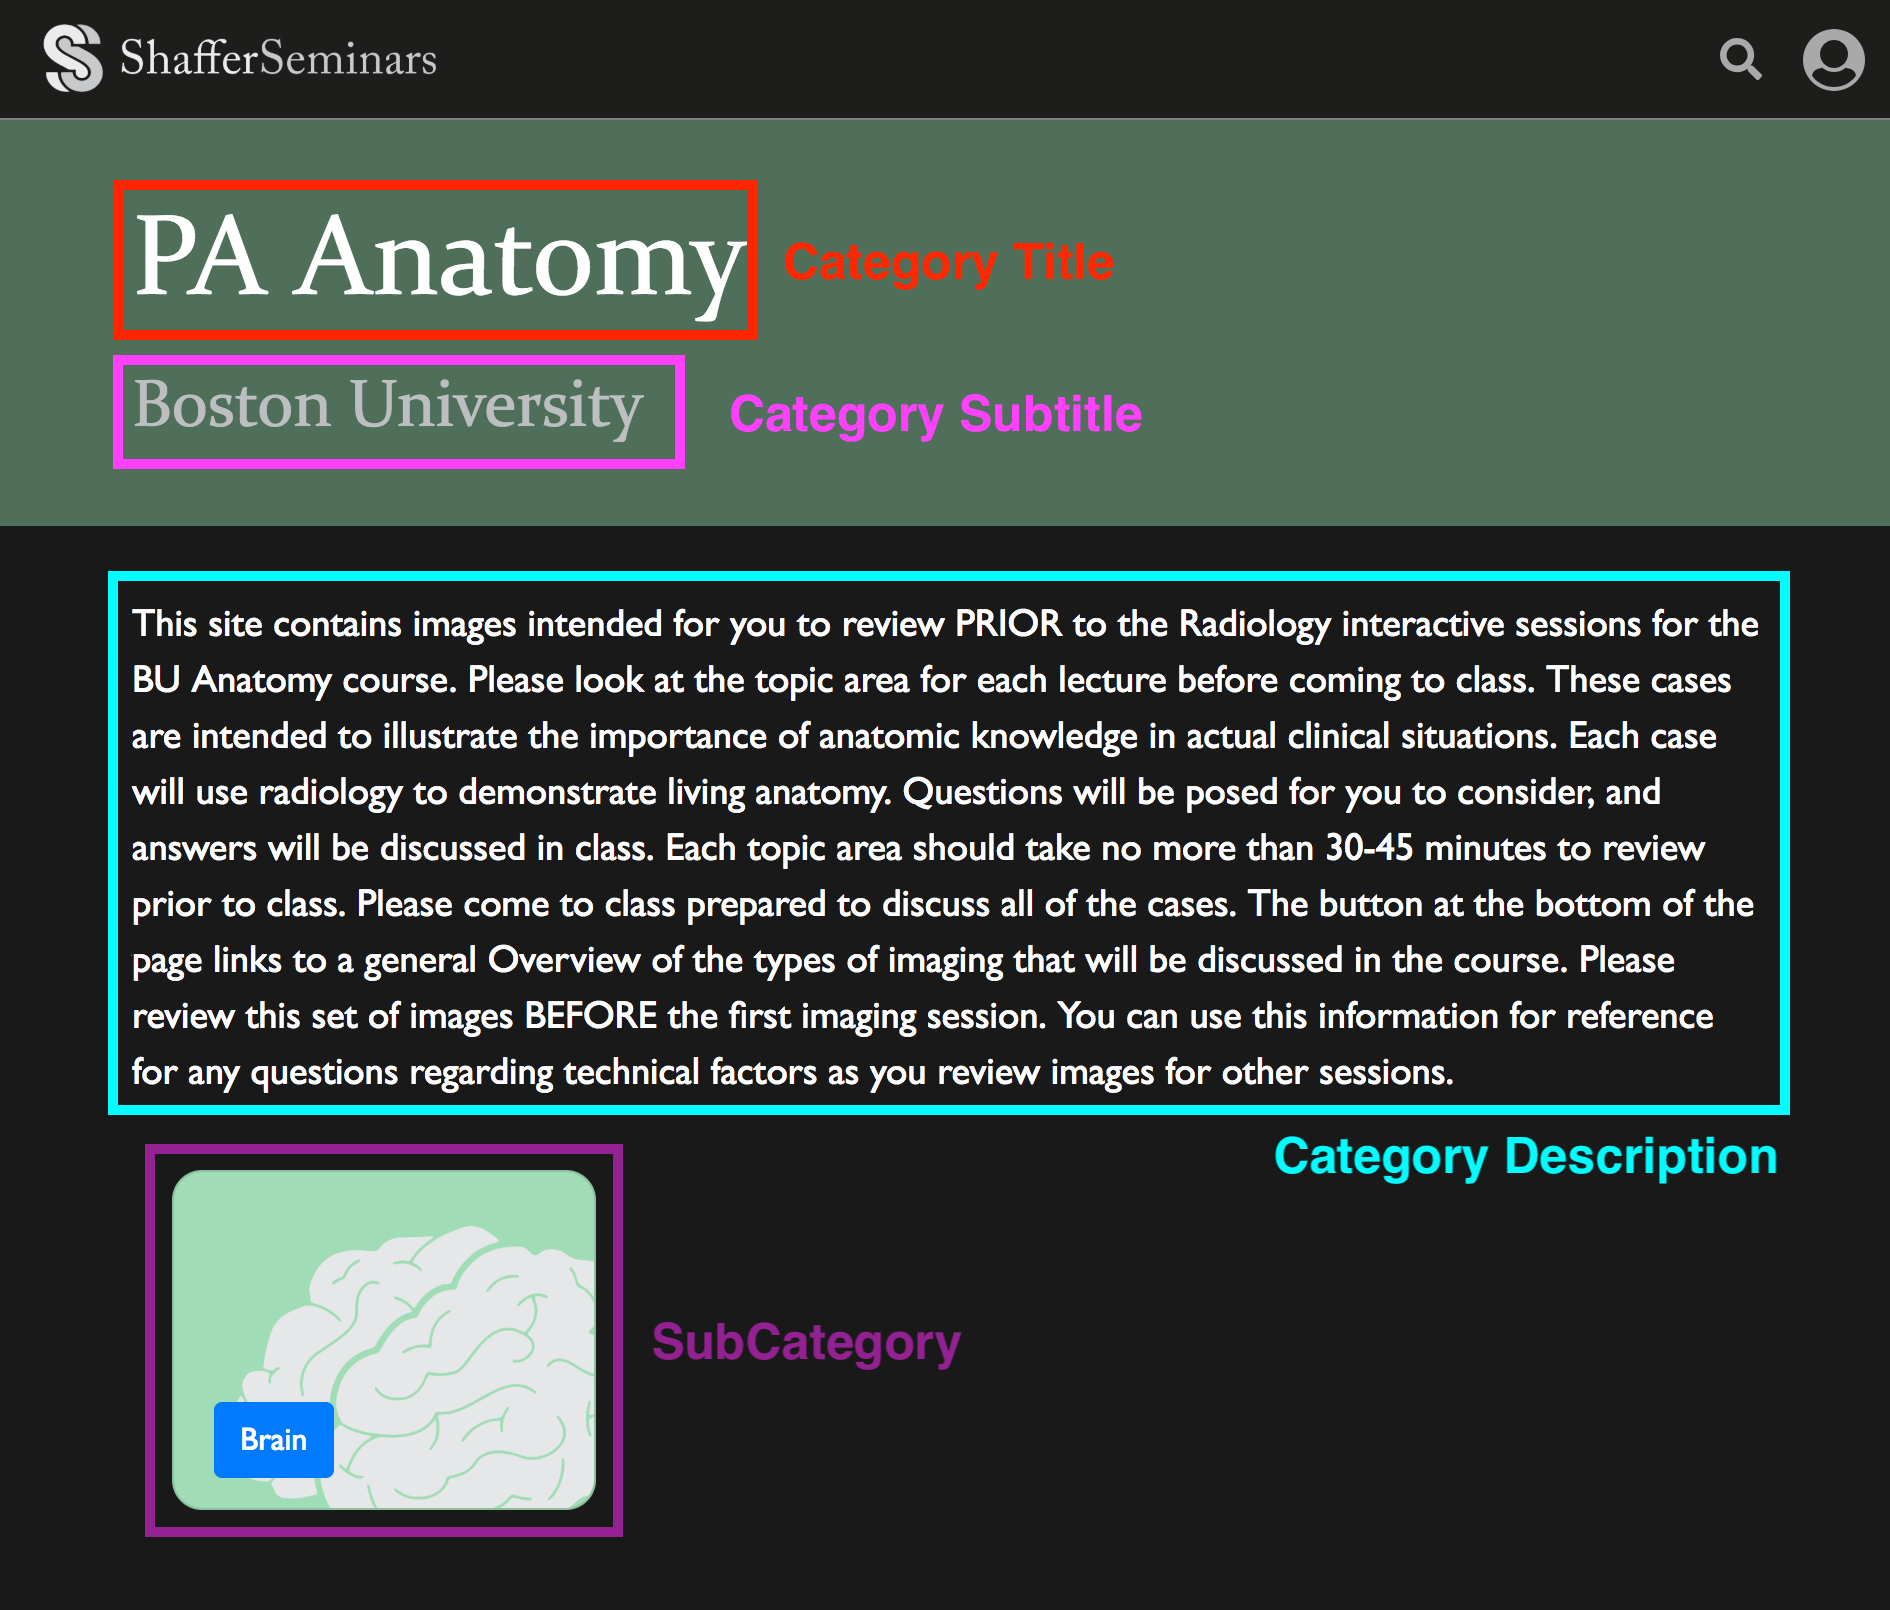
2. Category Name: displayed on homepage
3. Category Title: displayed on category landing page
4. Category Subtitle: displayed underneath title on category landing page
5. Category Description: also displayed on category landing page
2) Categories (cont.):
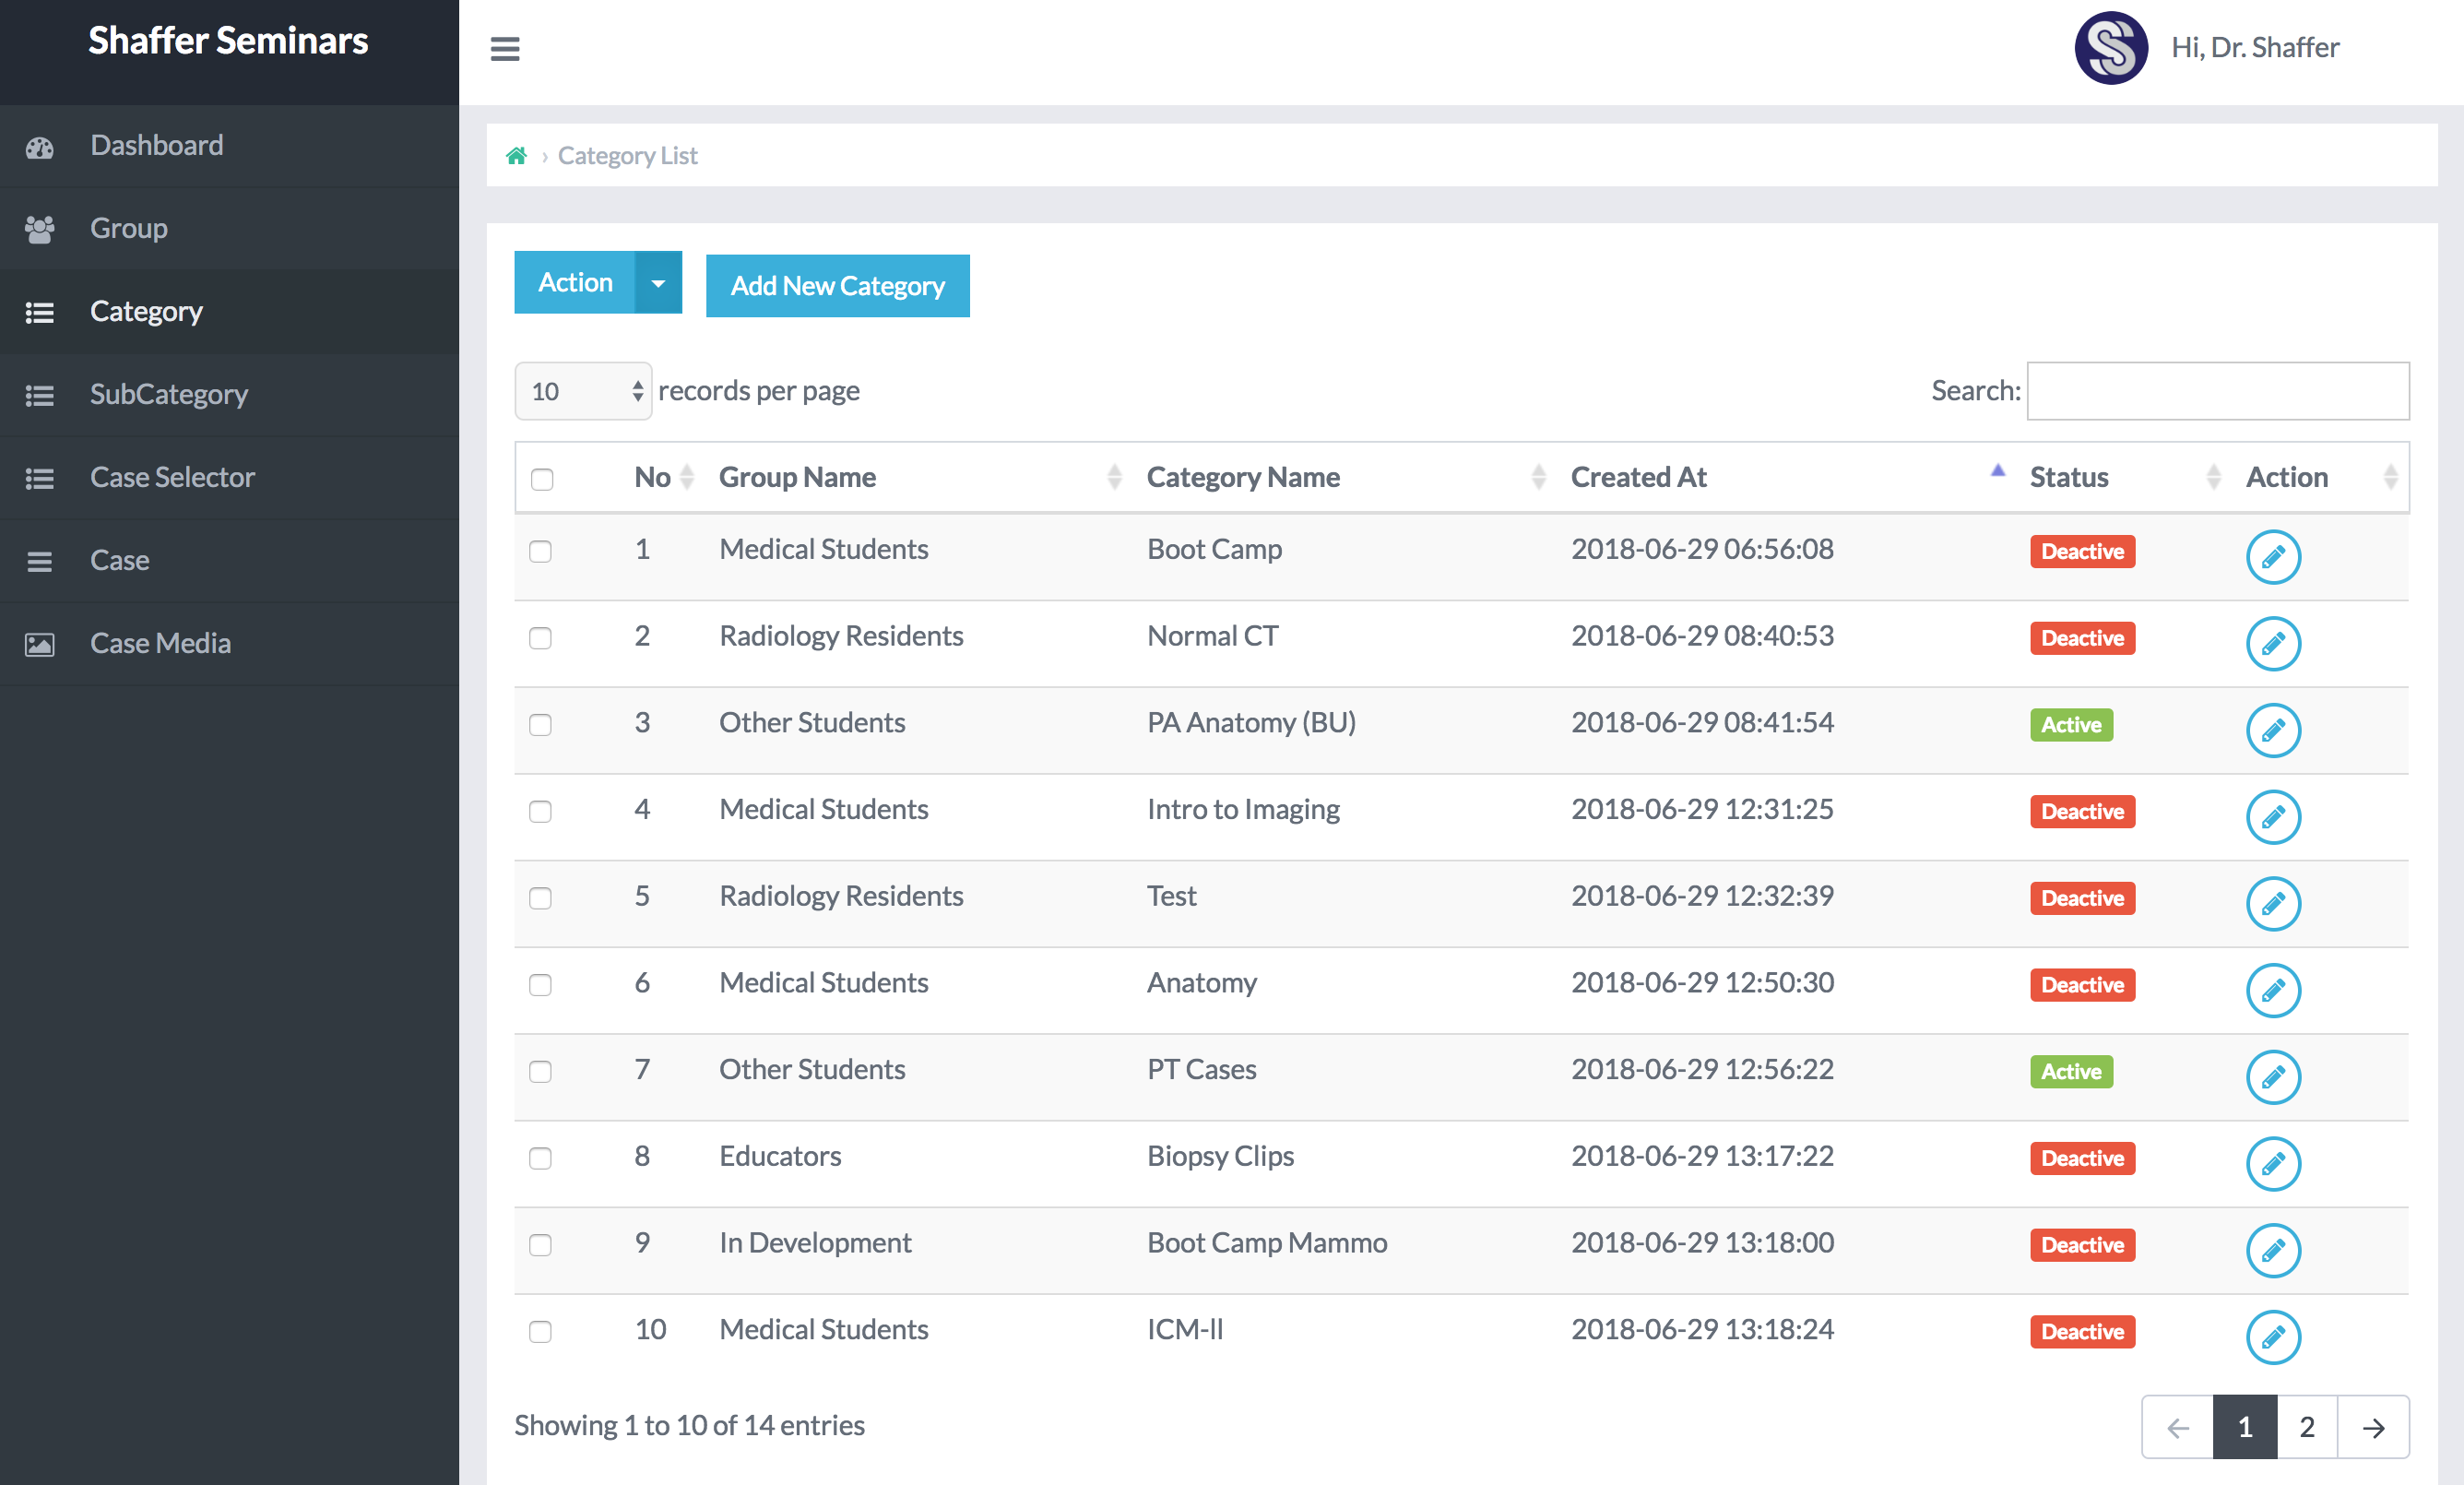
Please click on one of the pencil icons within the Category page, where you can edit its attributes. For example, click on the pencil attached to the Category Name: 'PA Anatomy BU.' Here, you can add or edit the contents. If you click on the 'Edit Category' label below, you can see this screen.
Further Explanation:
3) SubCategories:
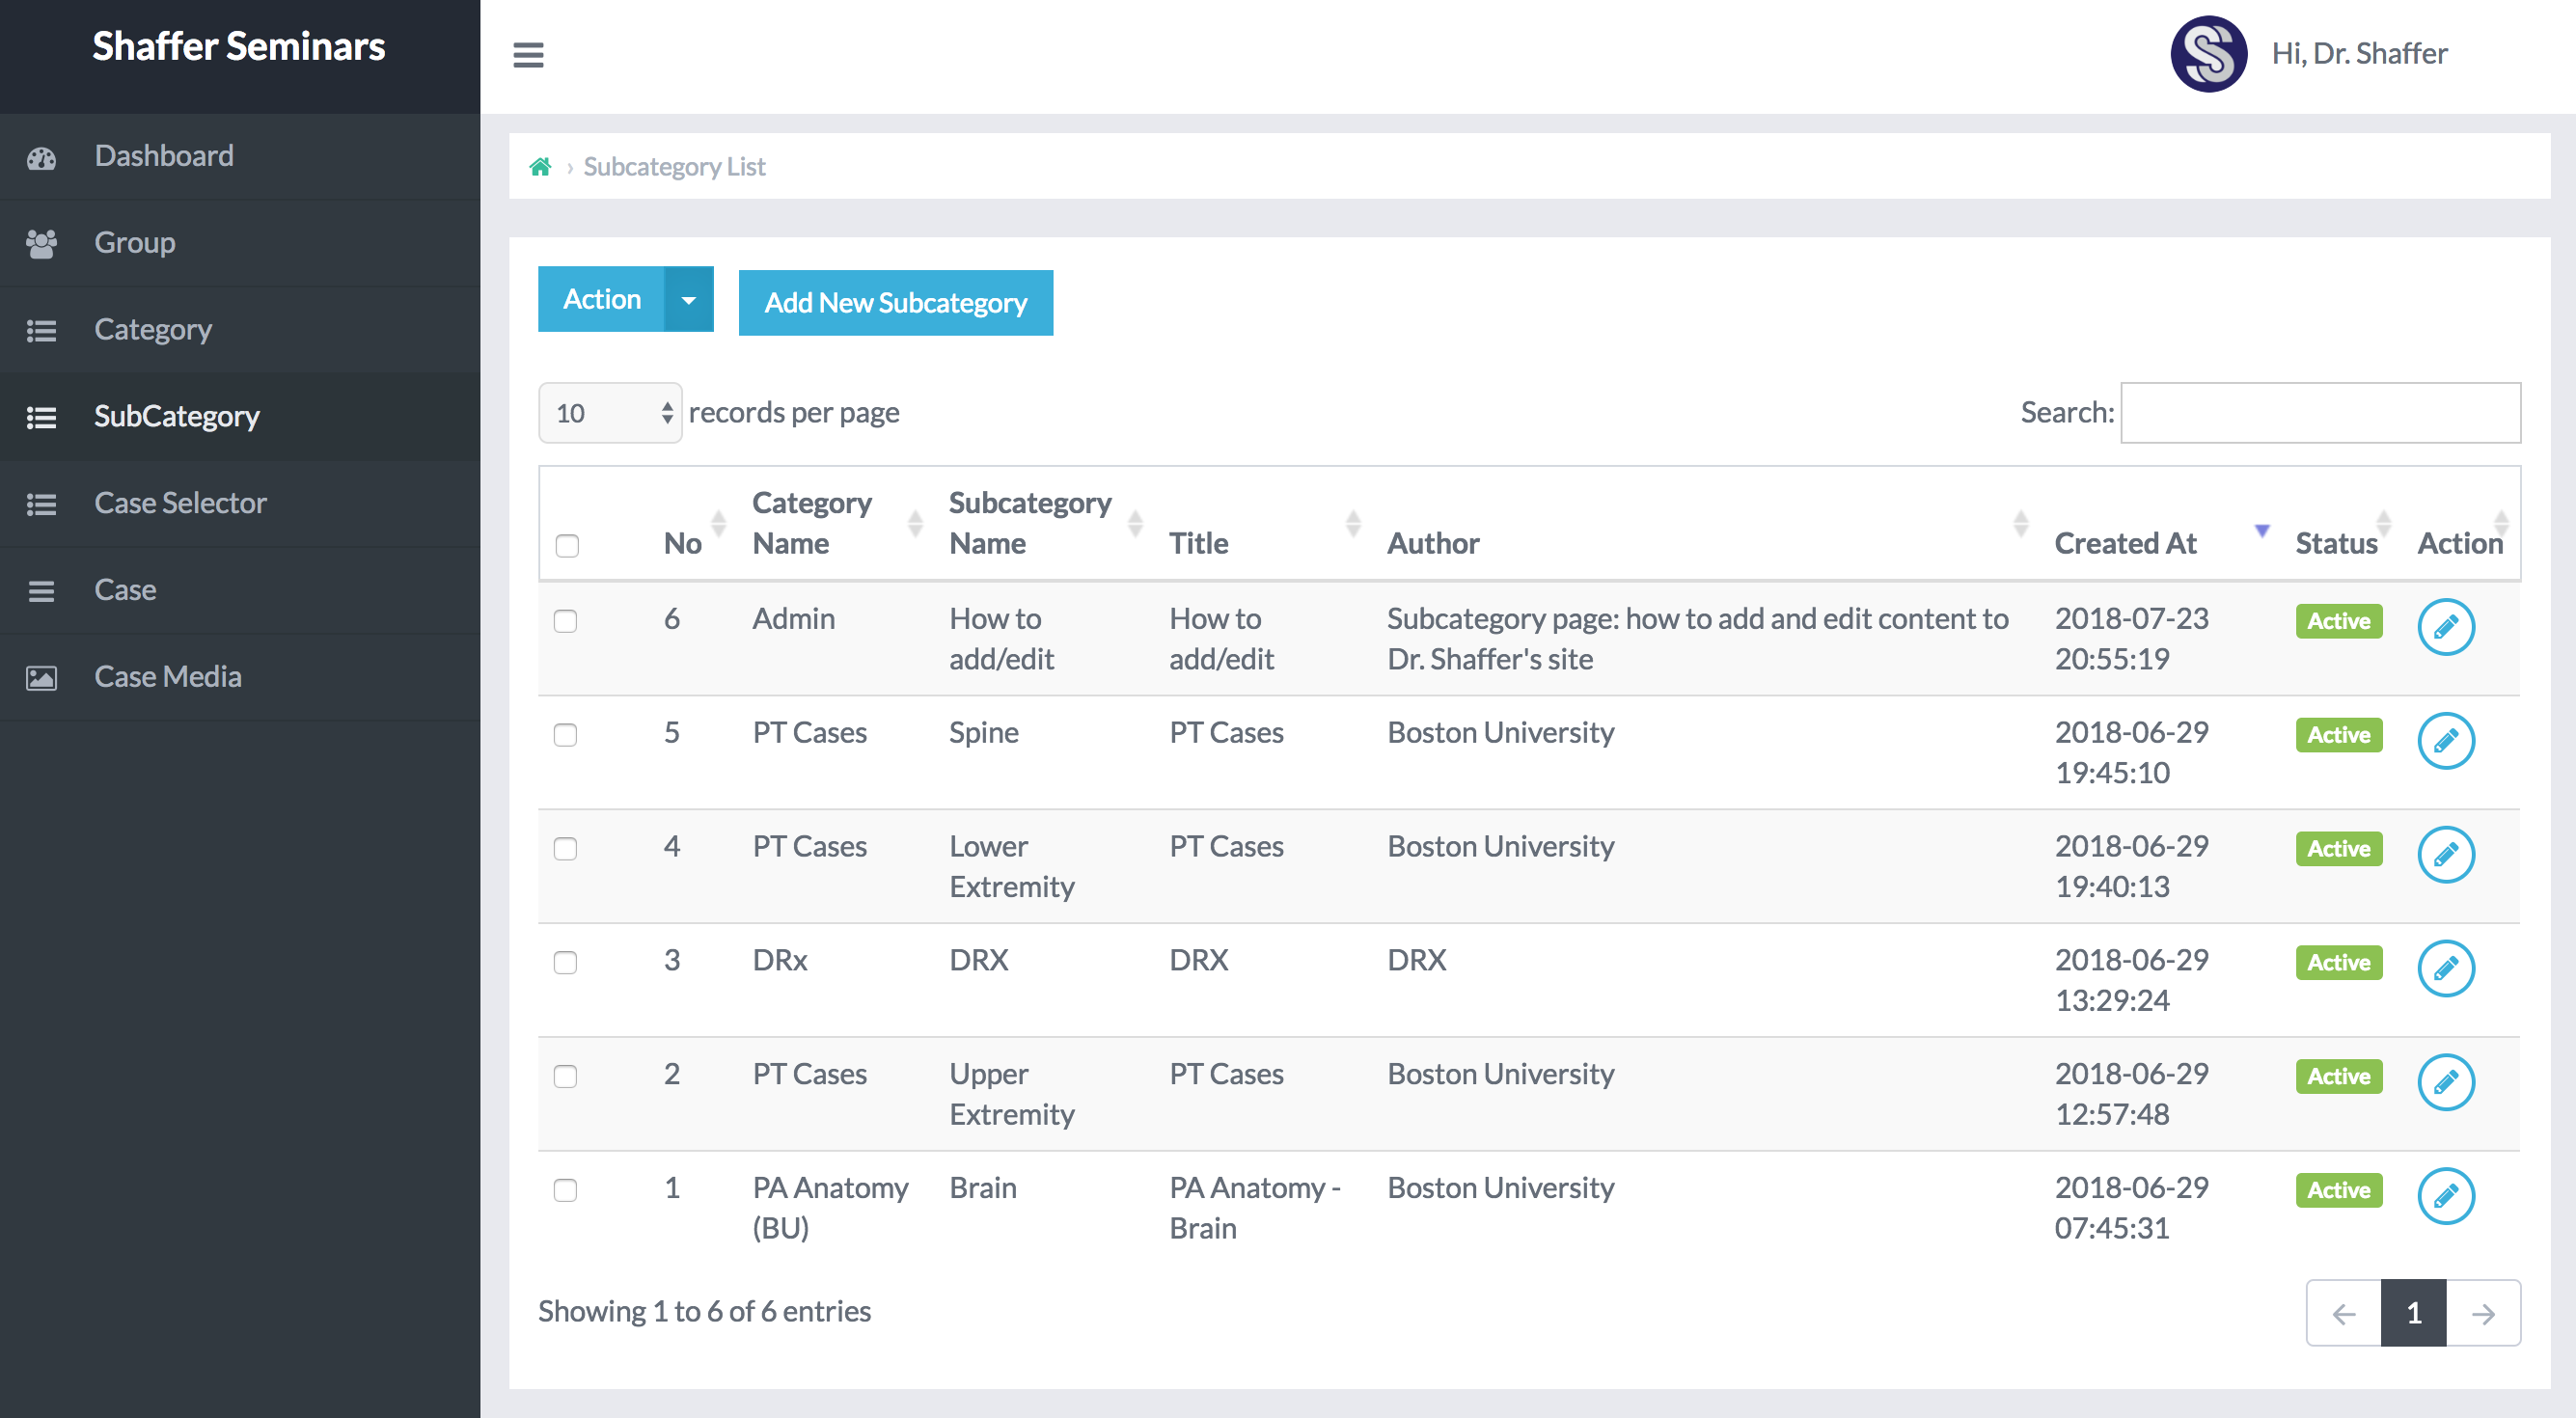
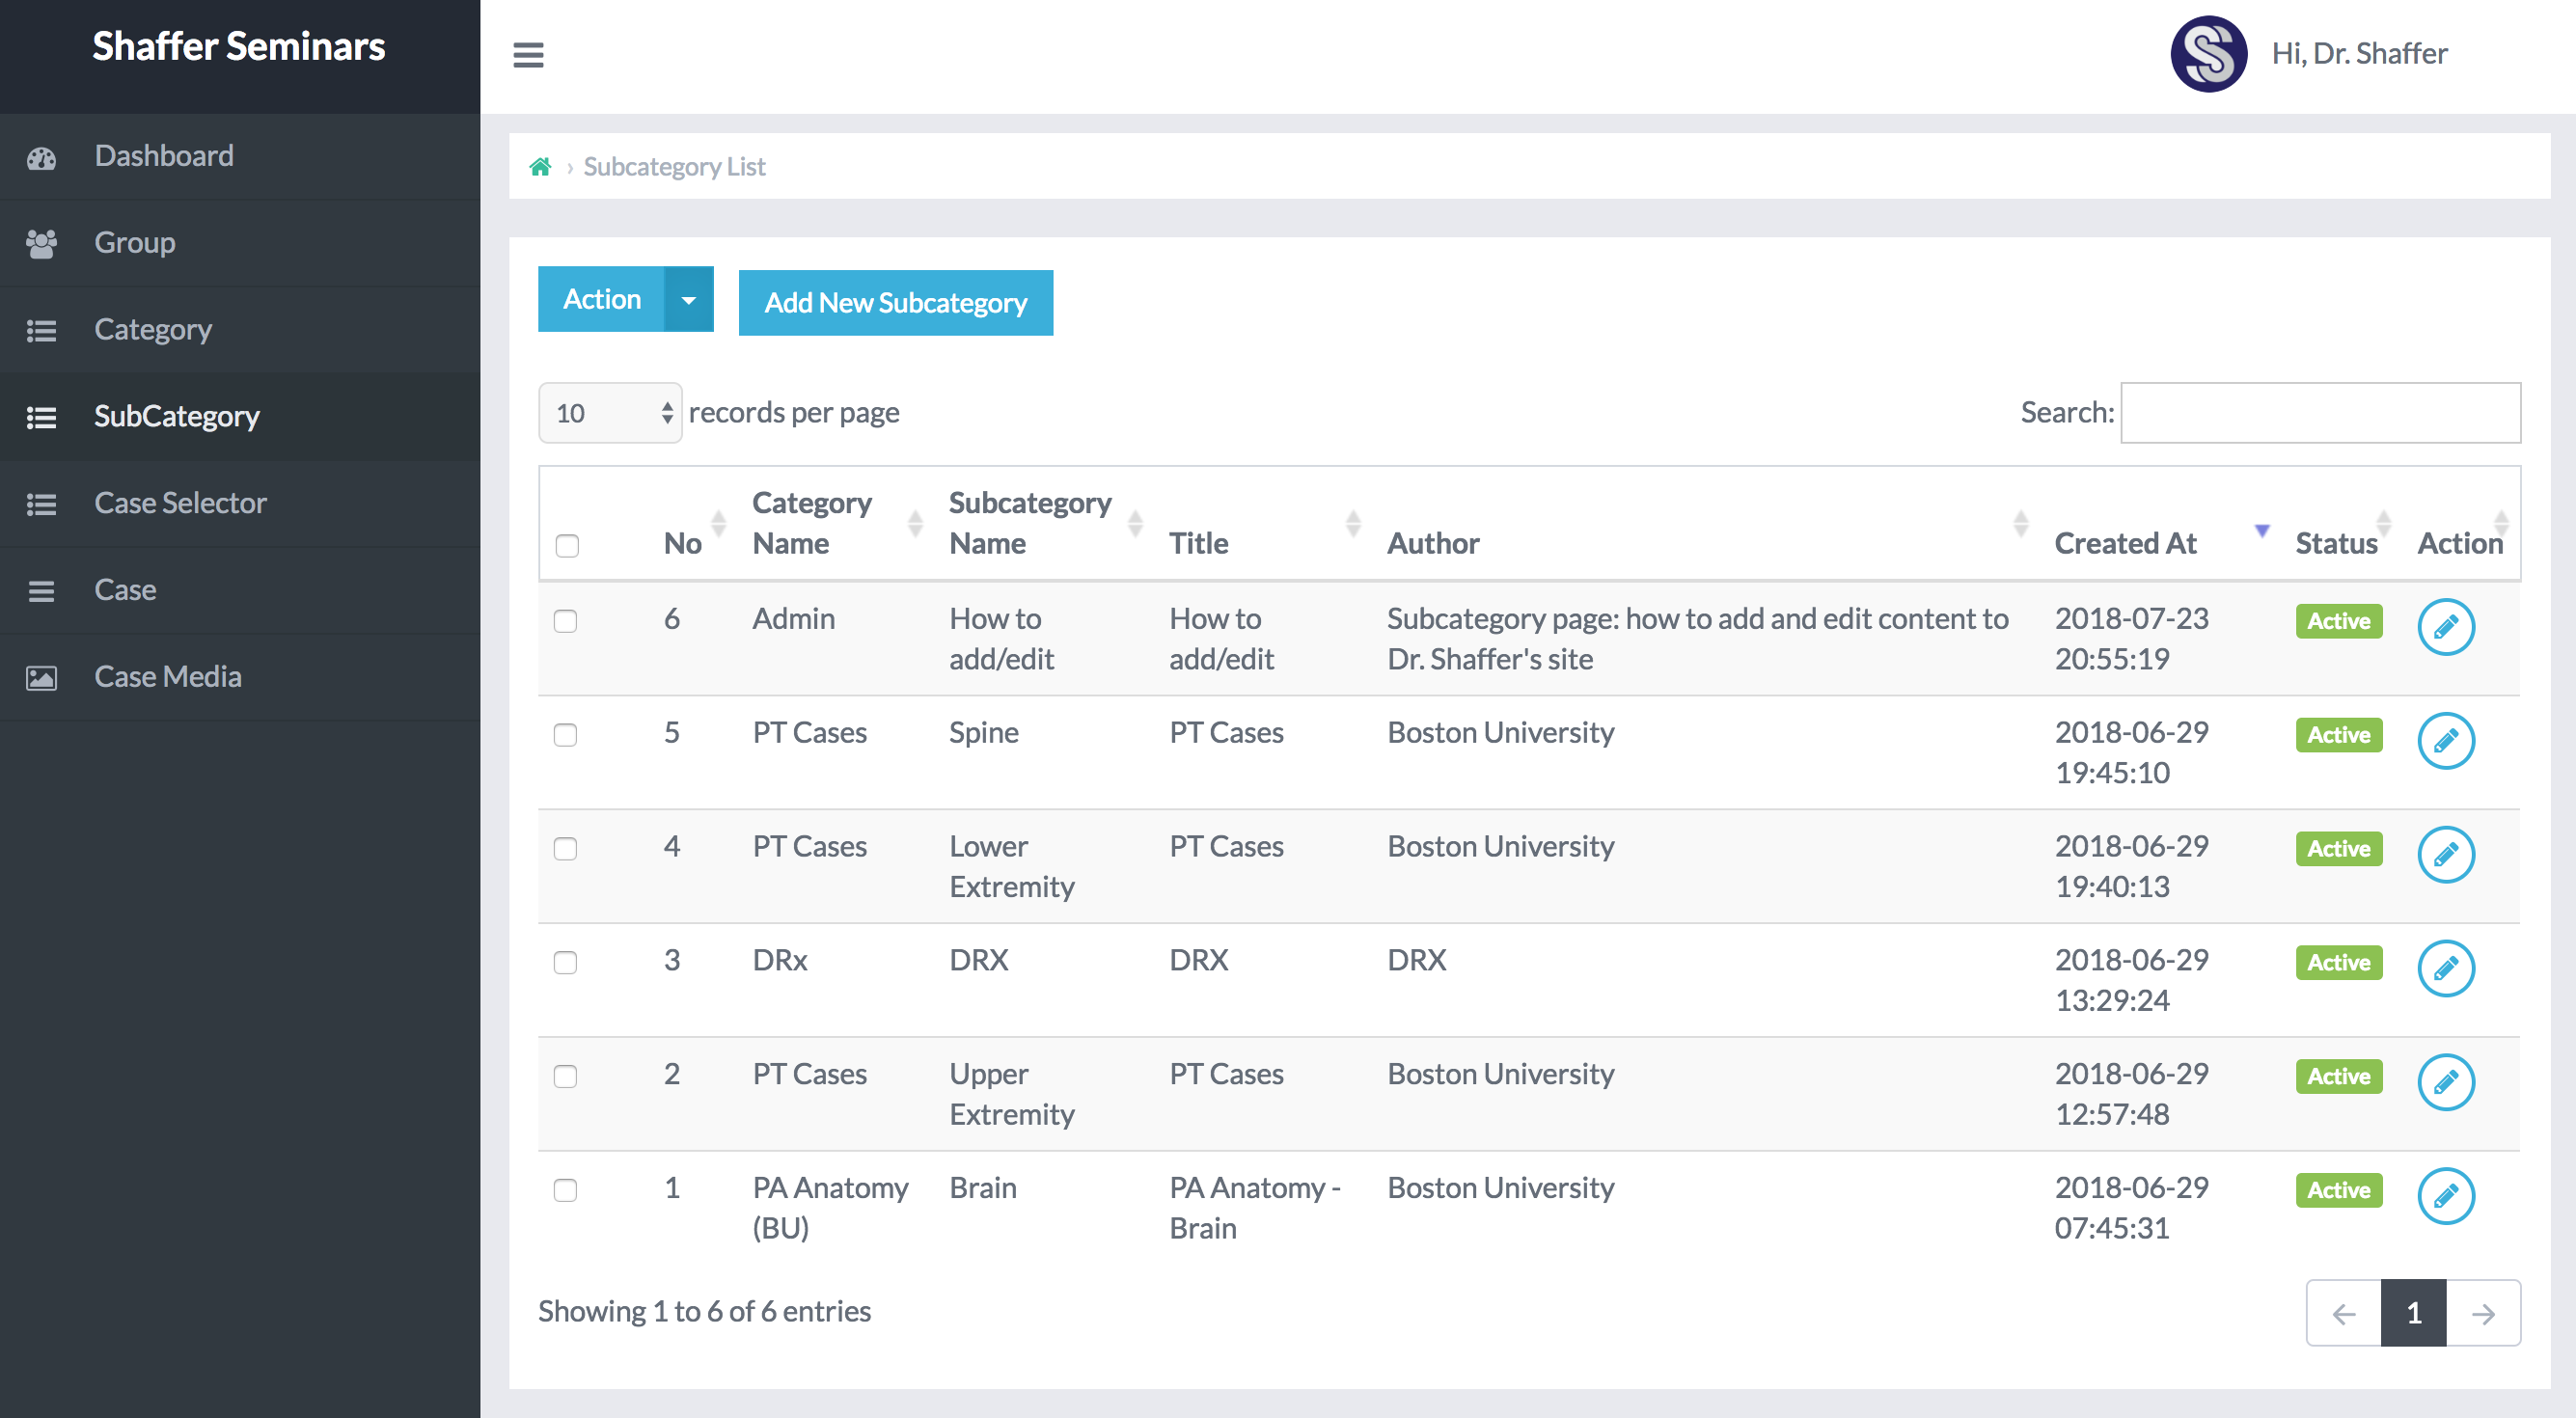
One level beneath categories are subcategories, which are also listed on the category landing page. These subcategories allow us to add many topics within a category of students, for example, PA Students.
Question 2:
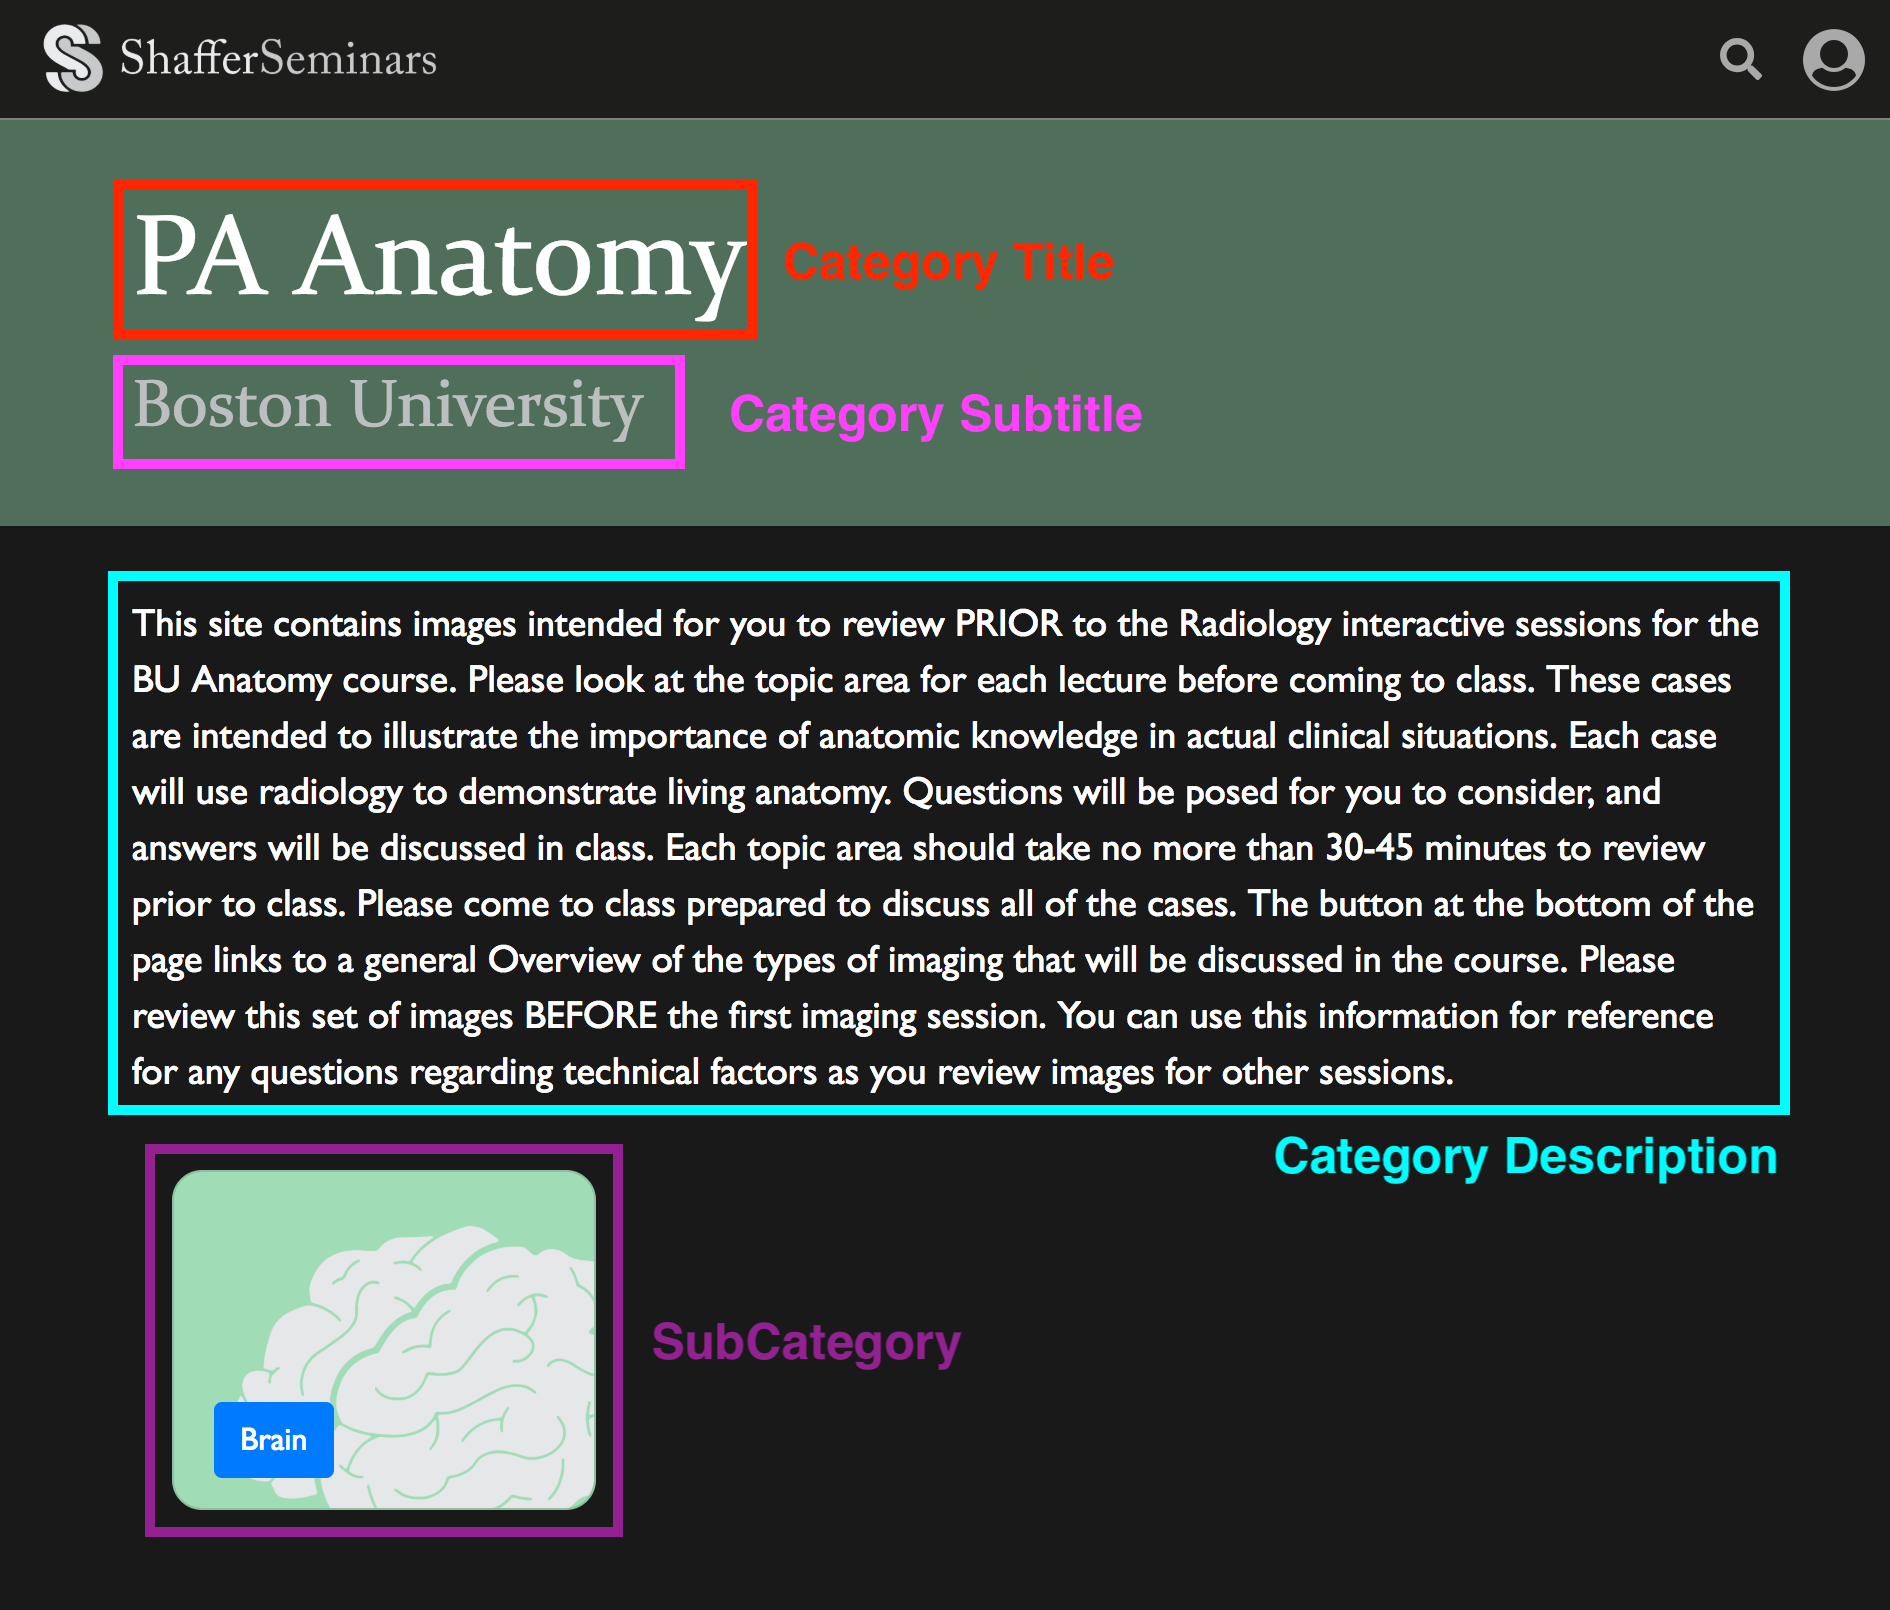
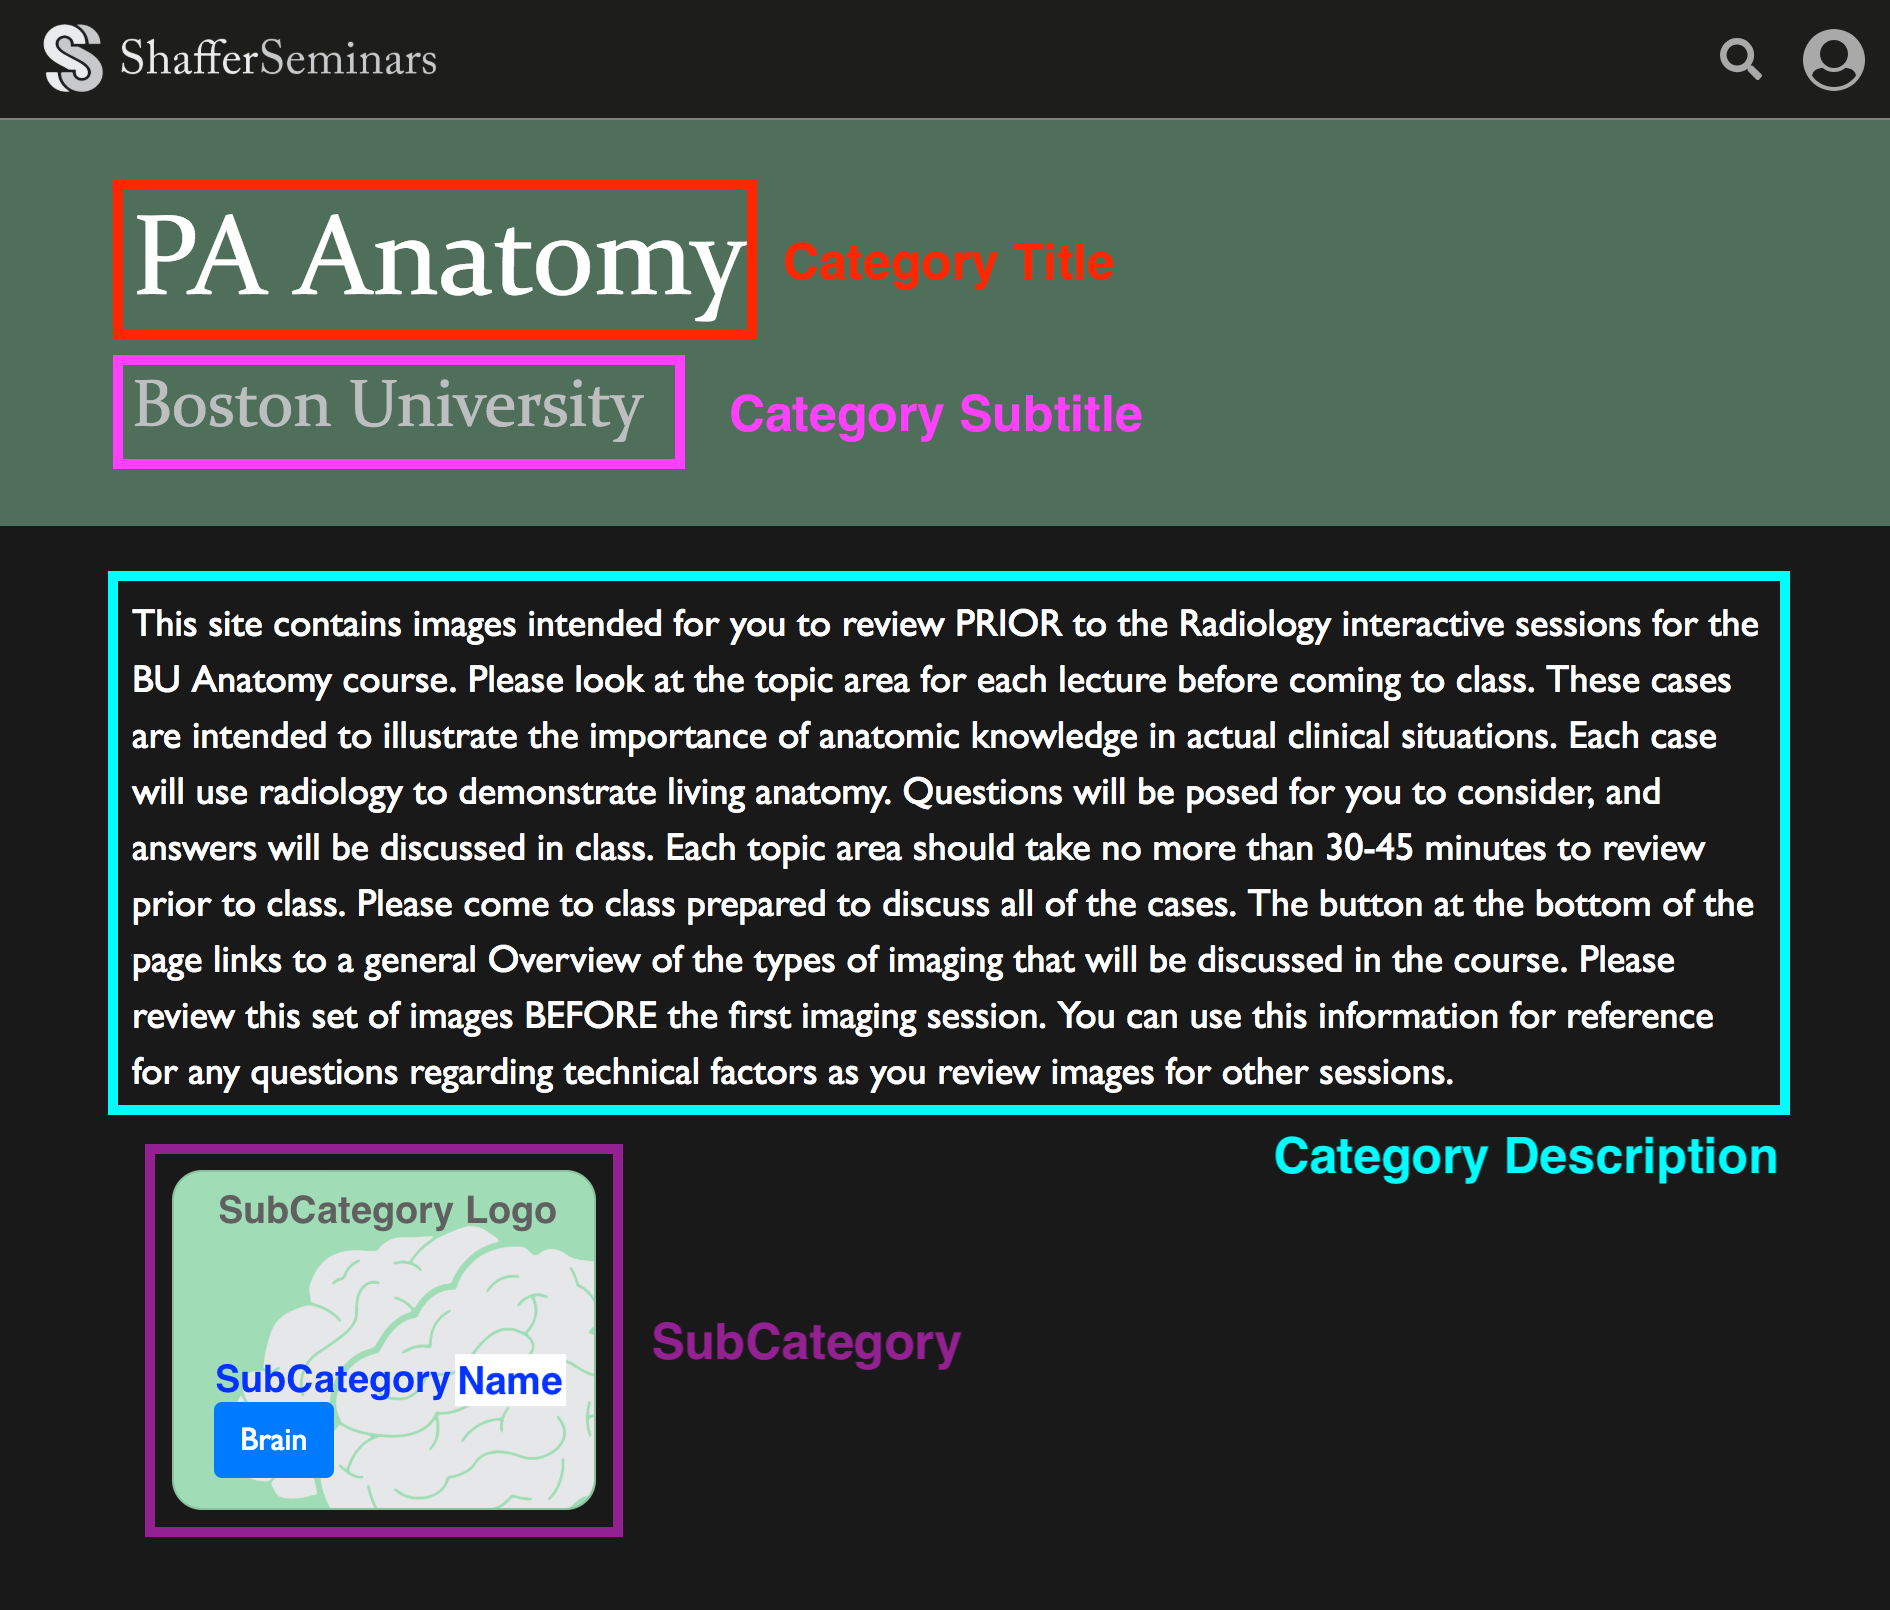
What attributes are attached to each subcategory?
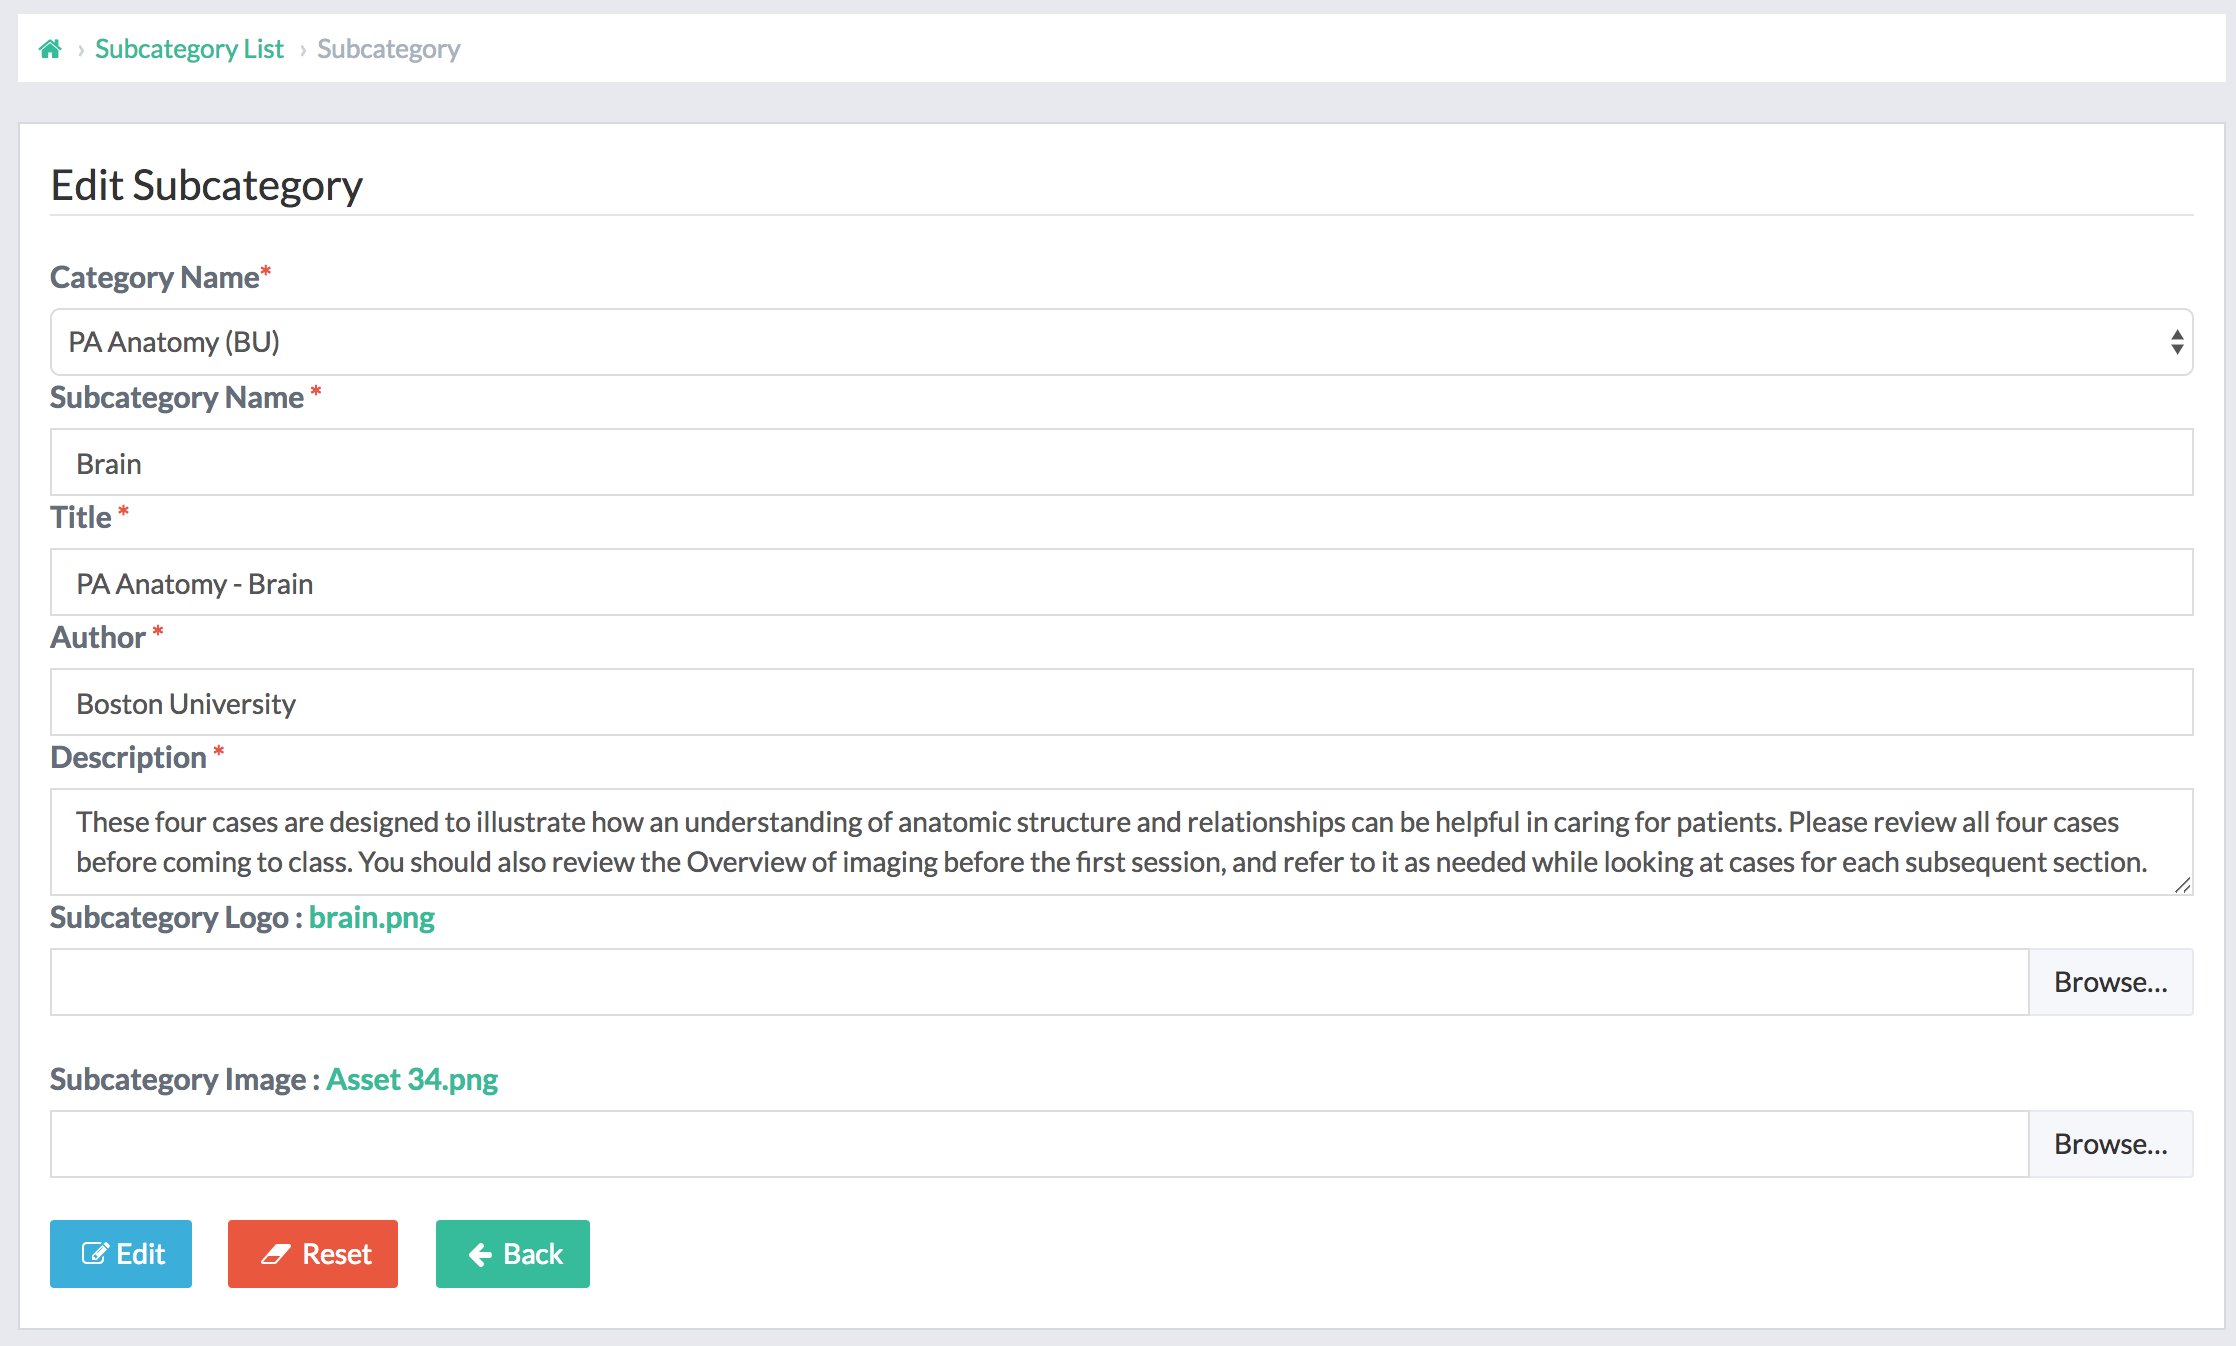
1. Category Name: each subcategory must be nested within a category
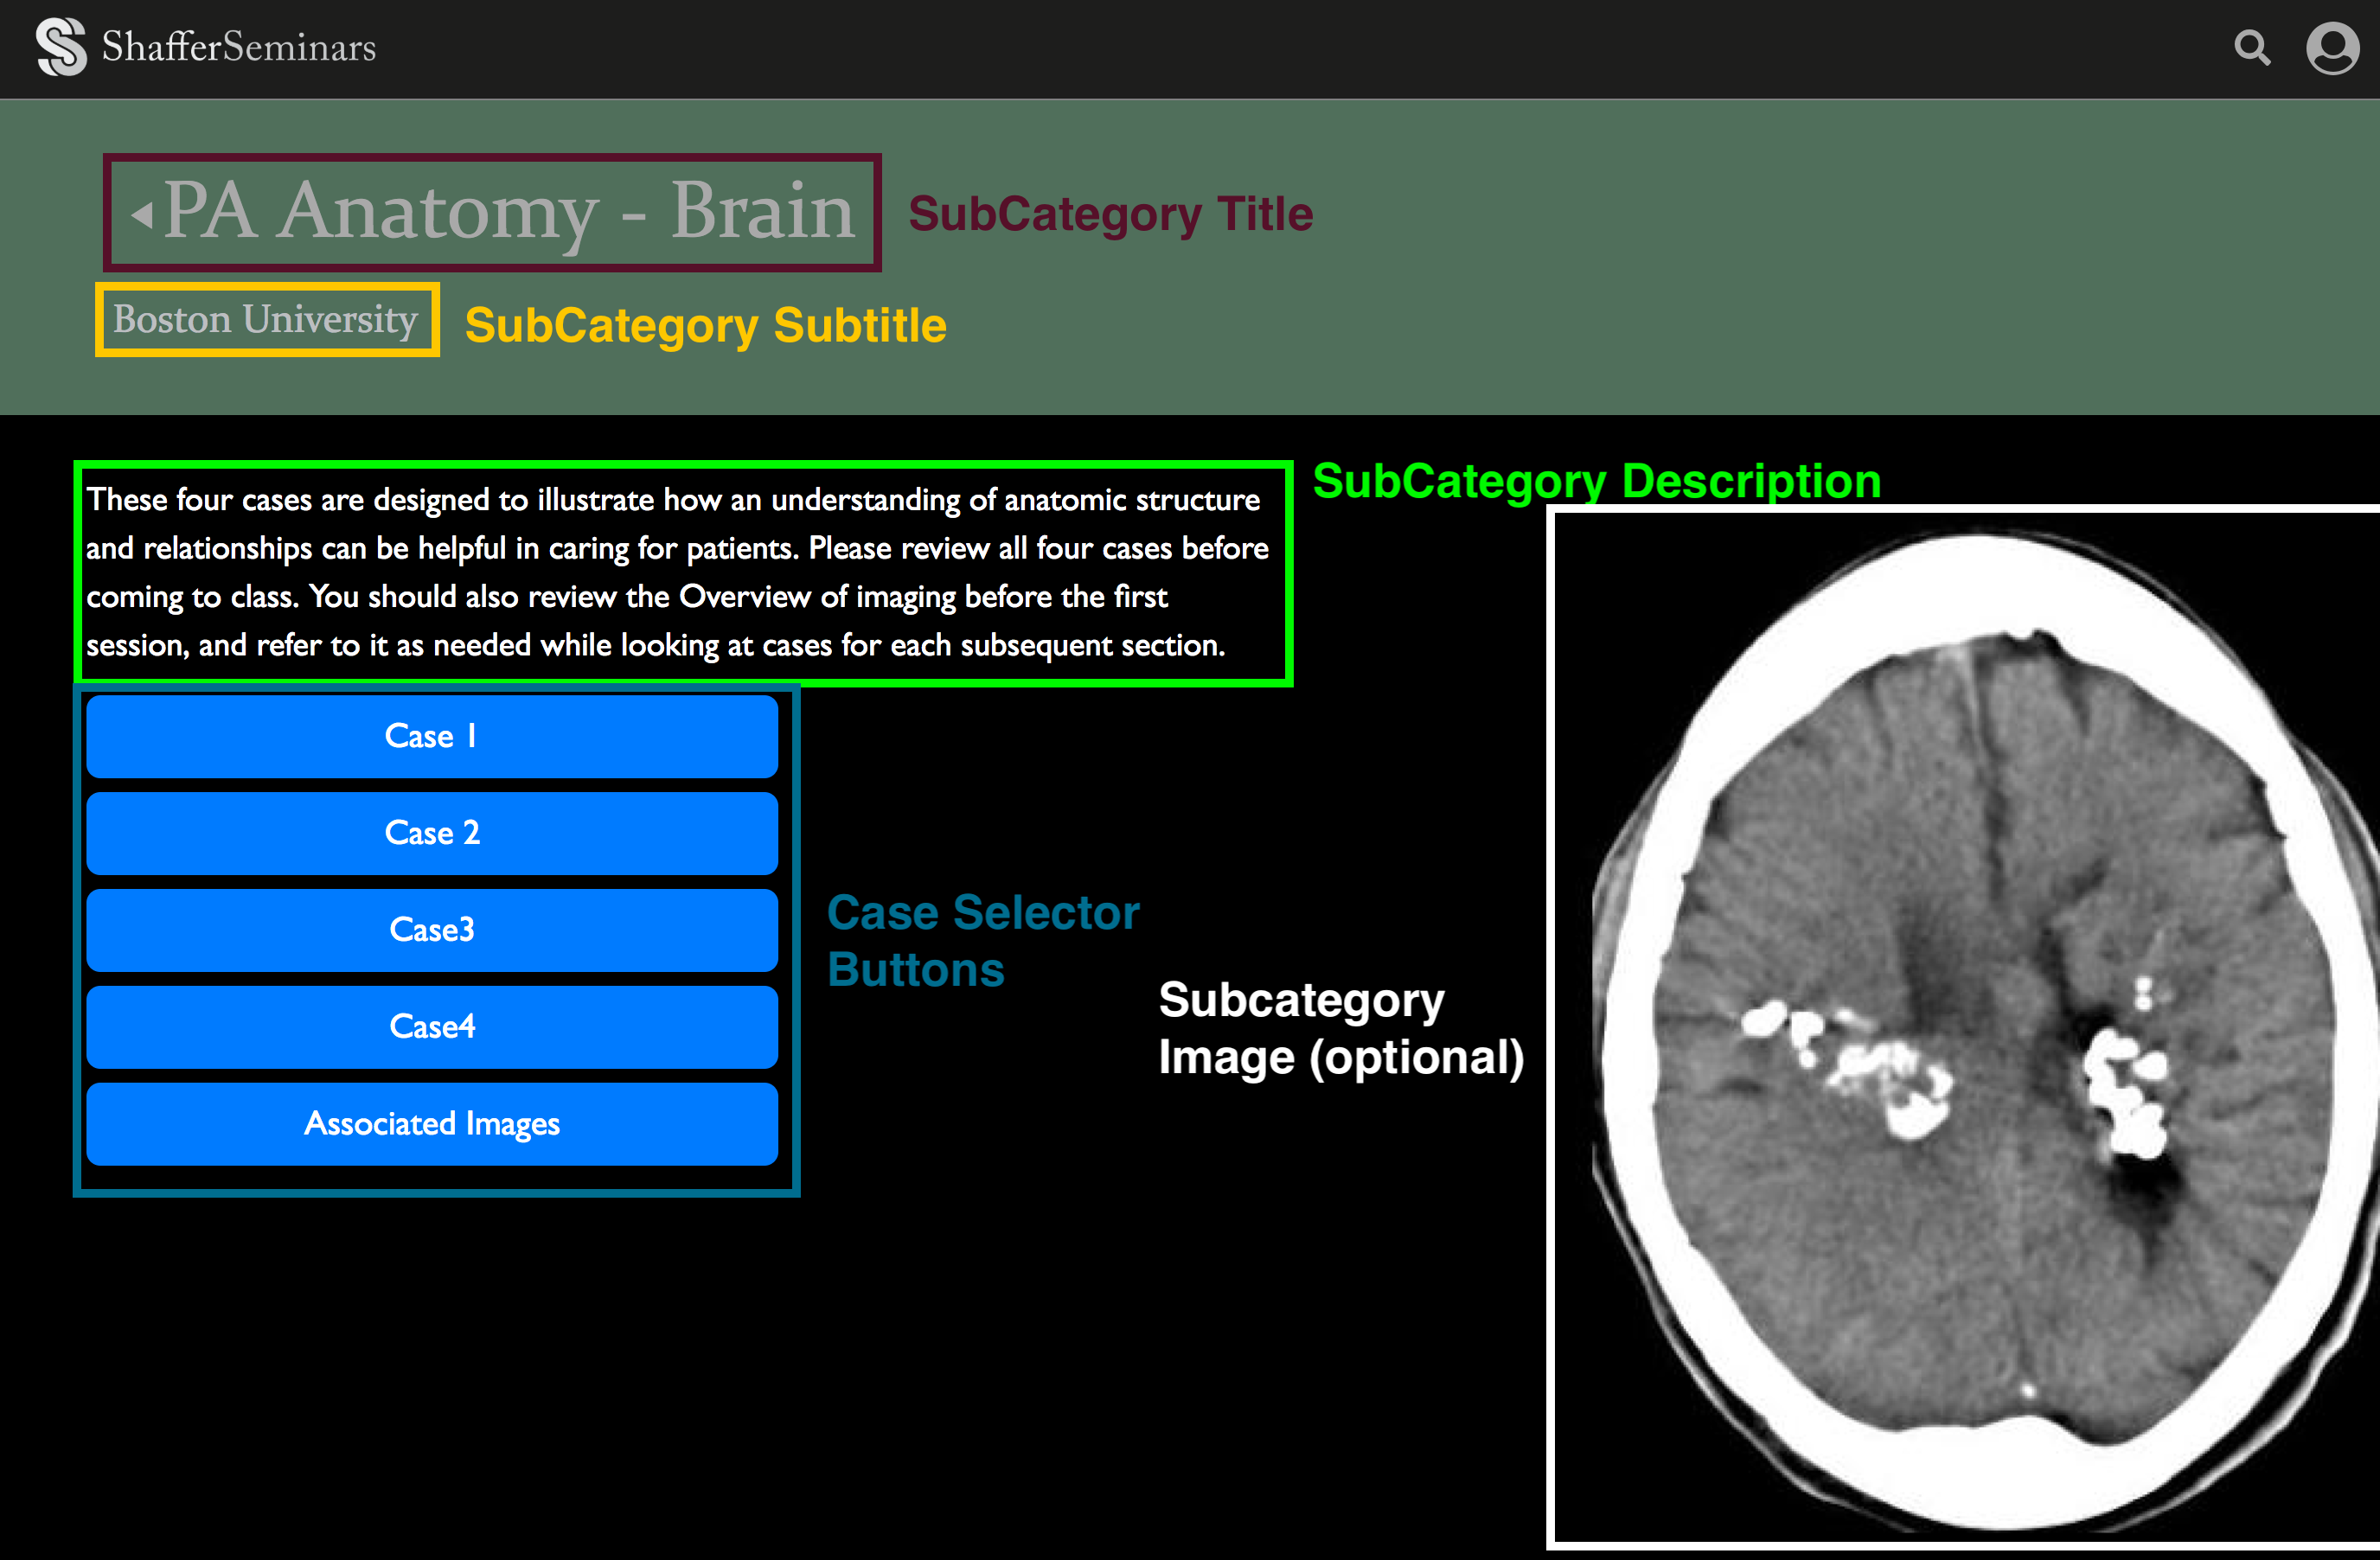
2. Subcategory Name: displayed on category landing page
3. Subcategory Title: displayed on subcategory landing page
4. Subcategory Subtitle: displayed underneath title on subcategory landing page
5. Description: also displayed on subcategory landing page
6. Subcategory Logo: displayed on category landing page
7. Subcategory Image: optional image displayed on subcategory landing page
3) SubCategories (cont.):
Use the buttons below to view examples of the category and subcategory landing pages, as well as their labeled attributes.
Further Explanation:
4) Case Selectors:
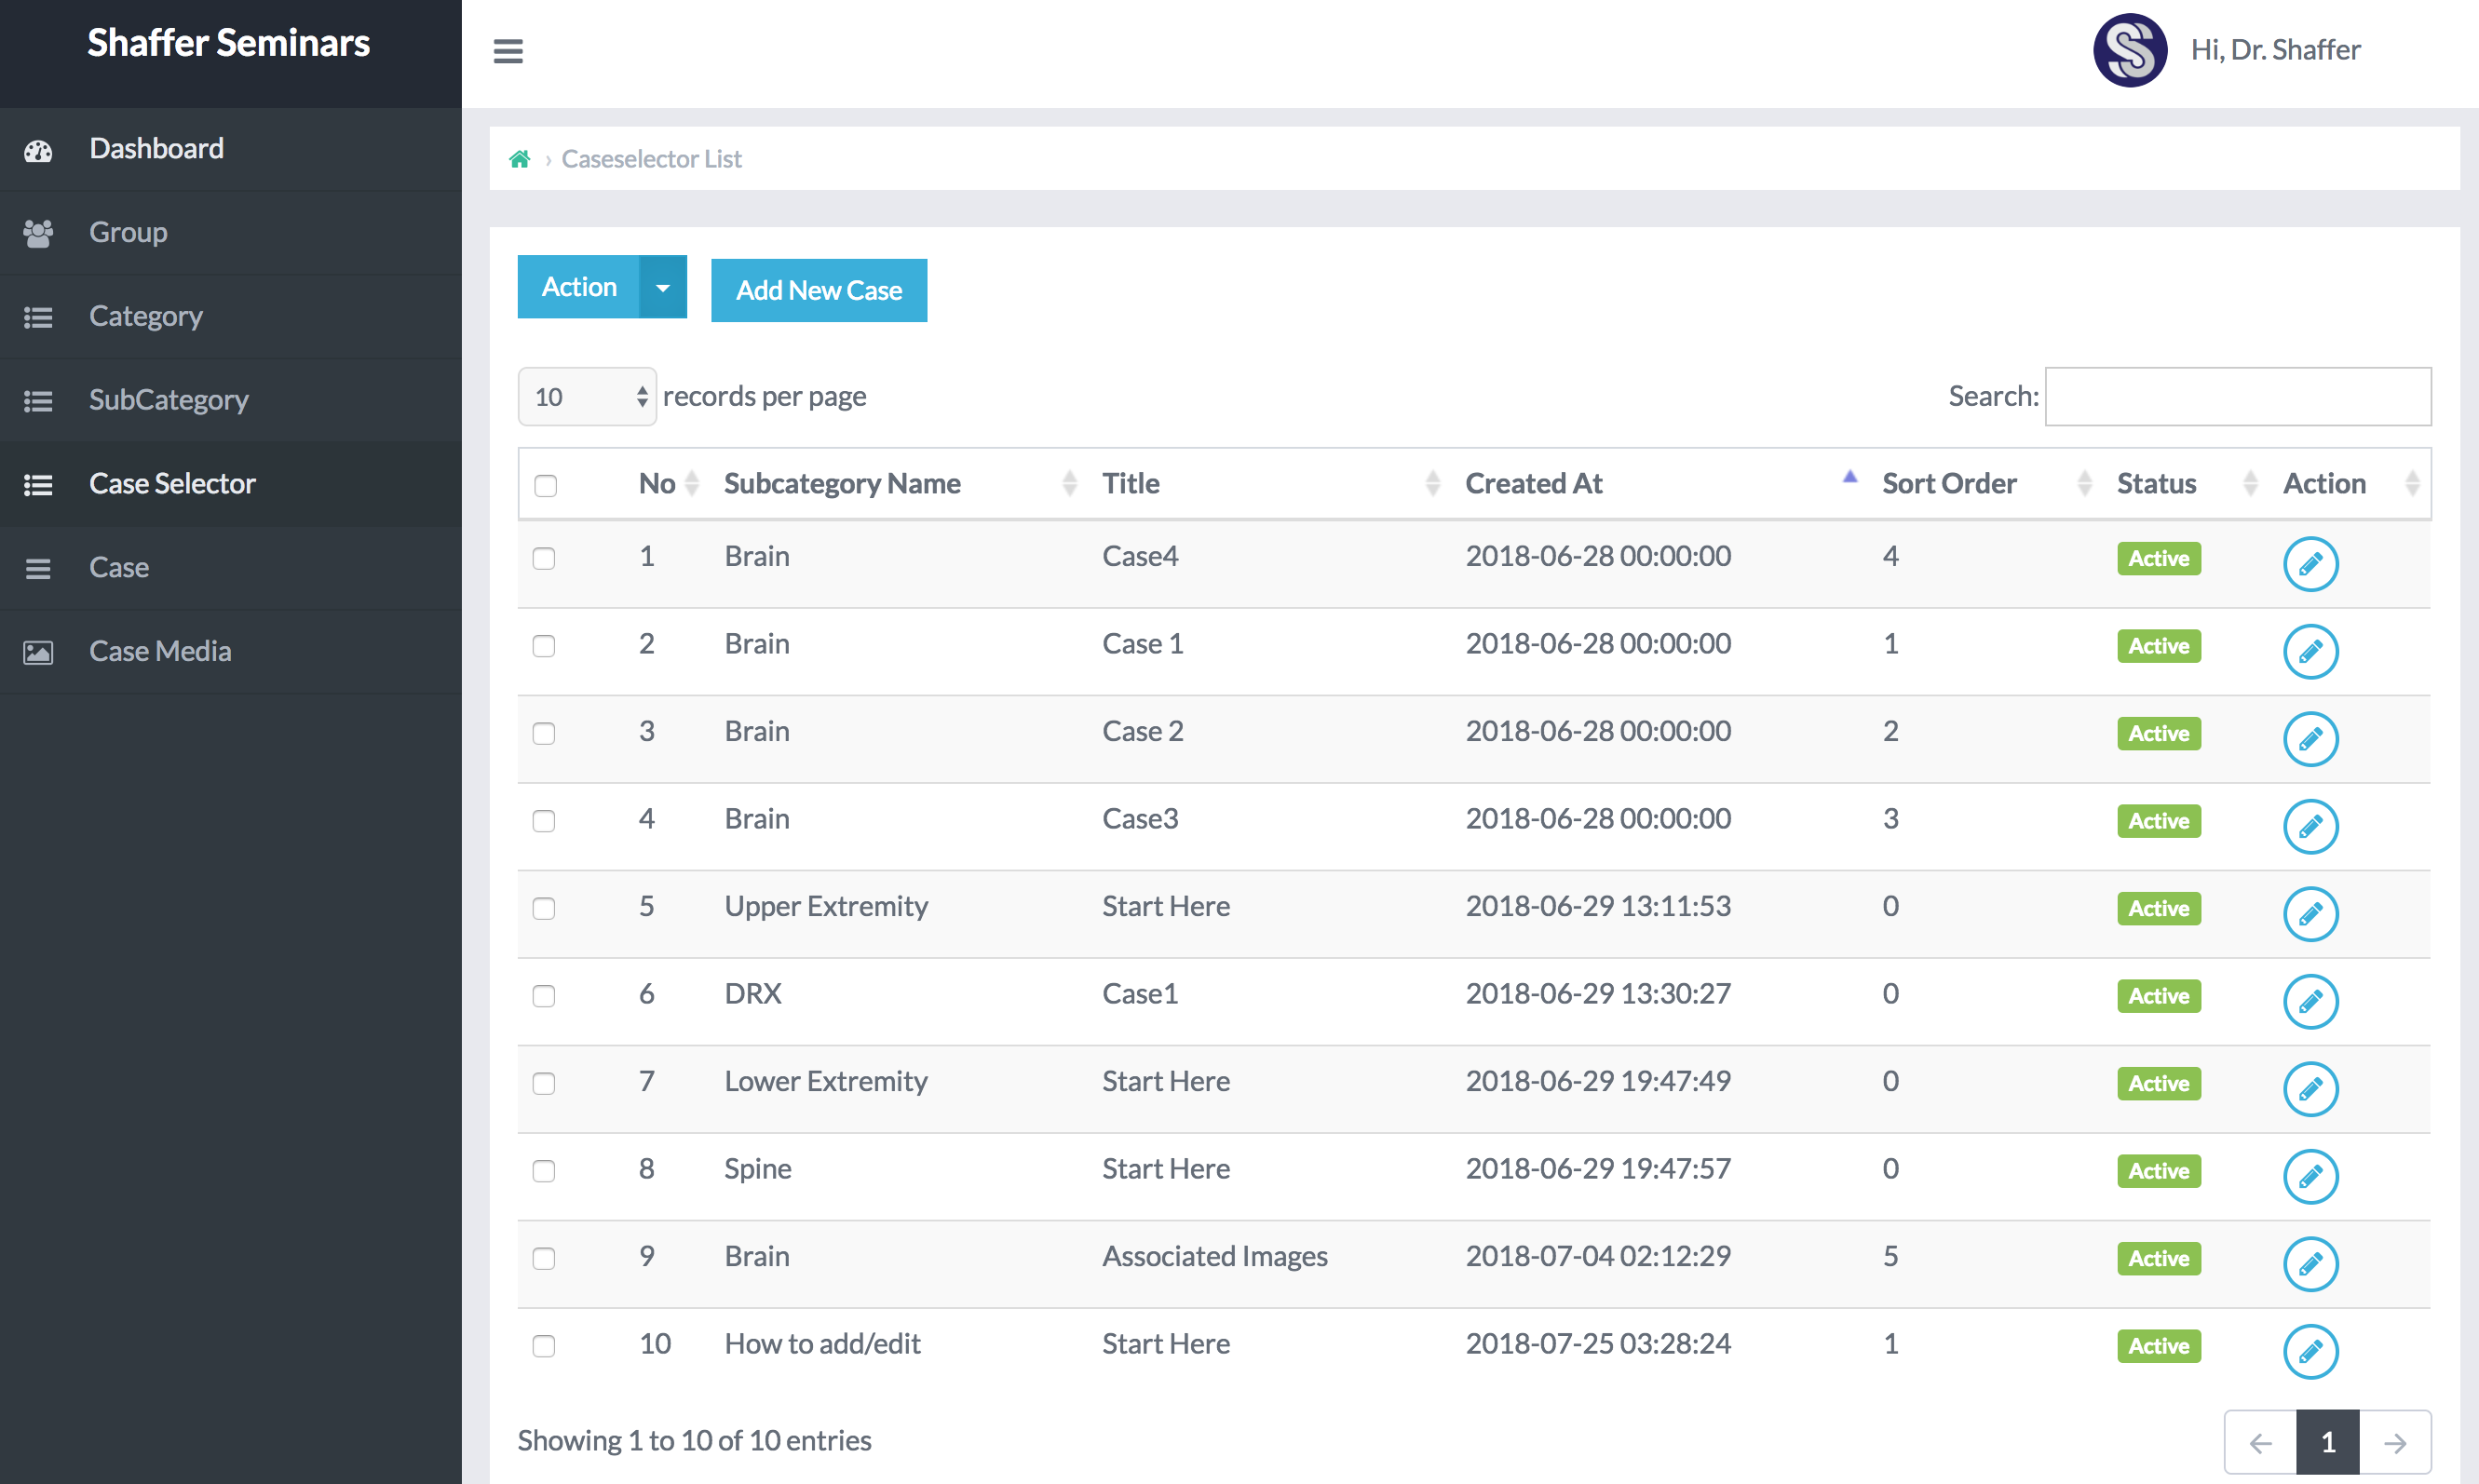
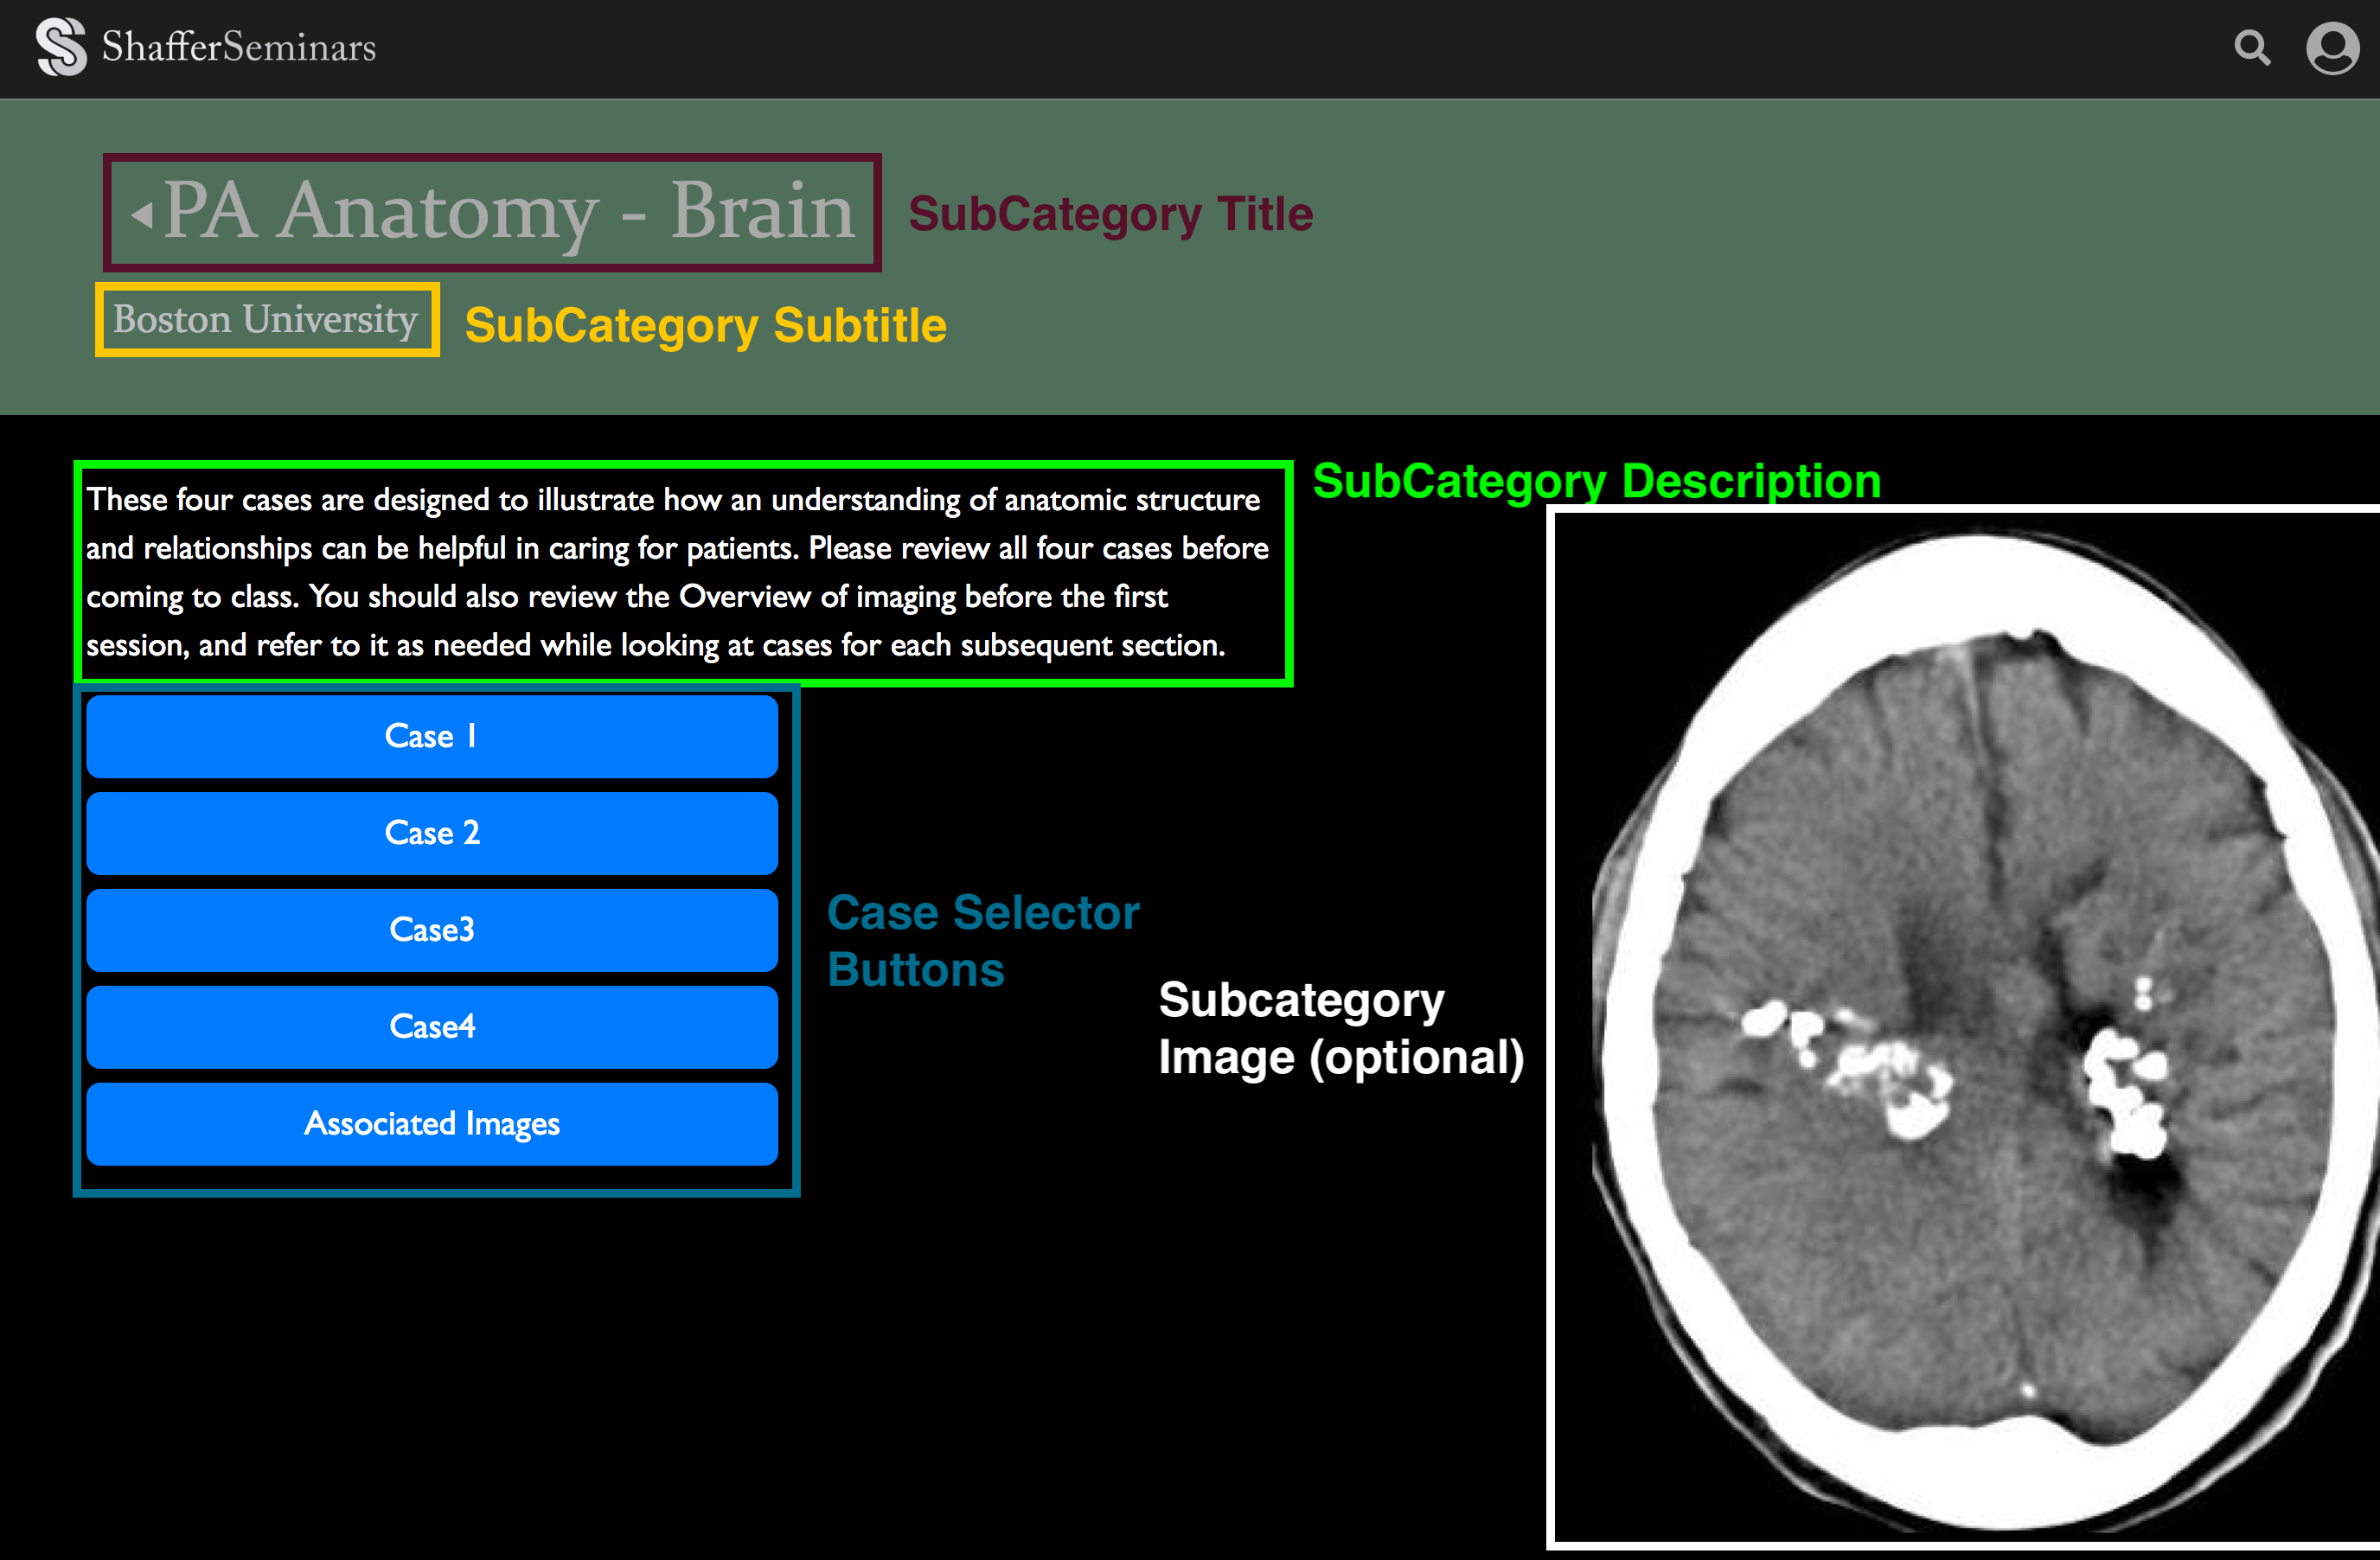
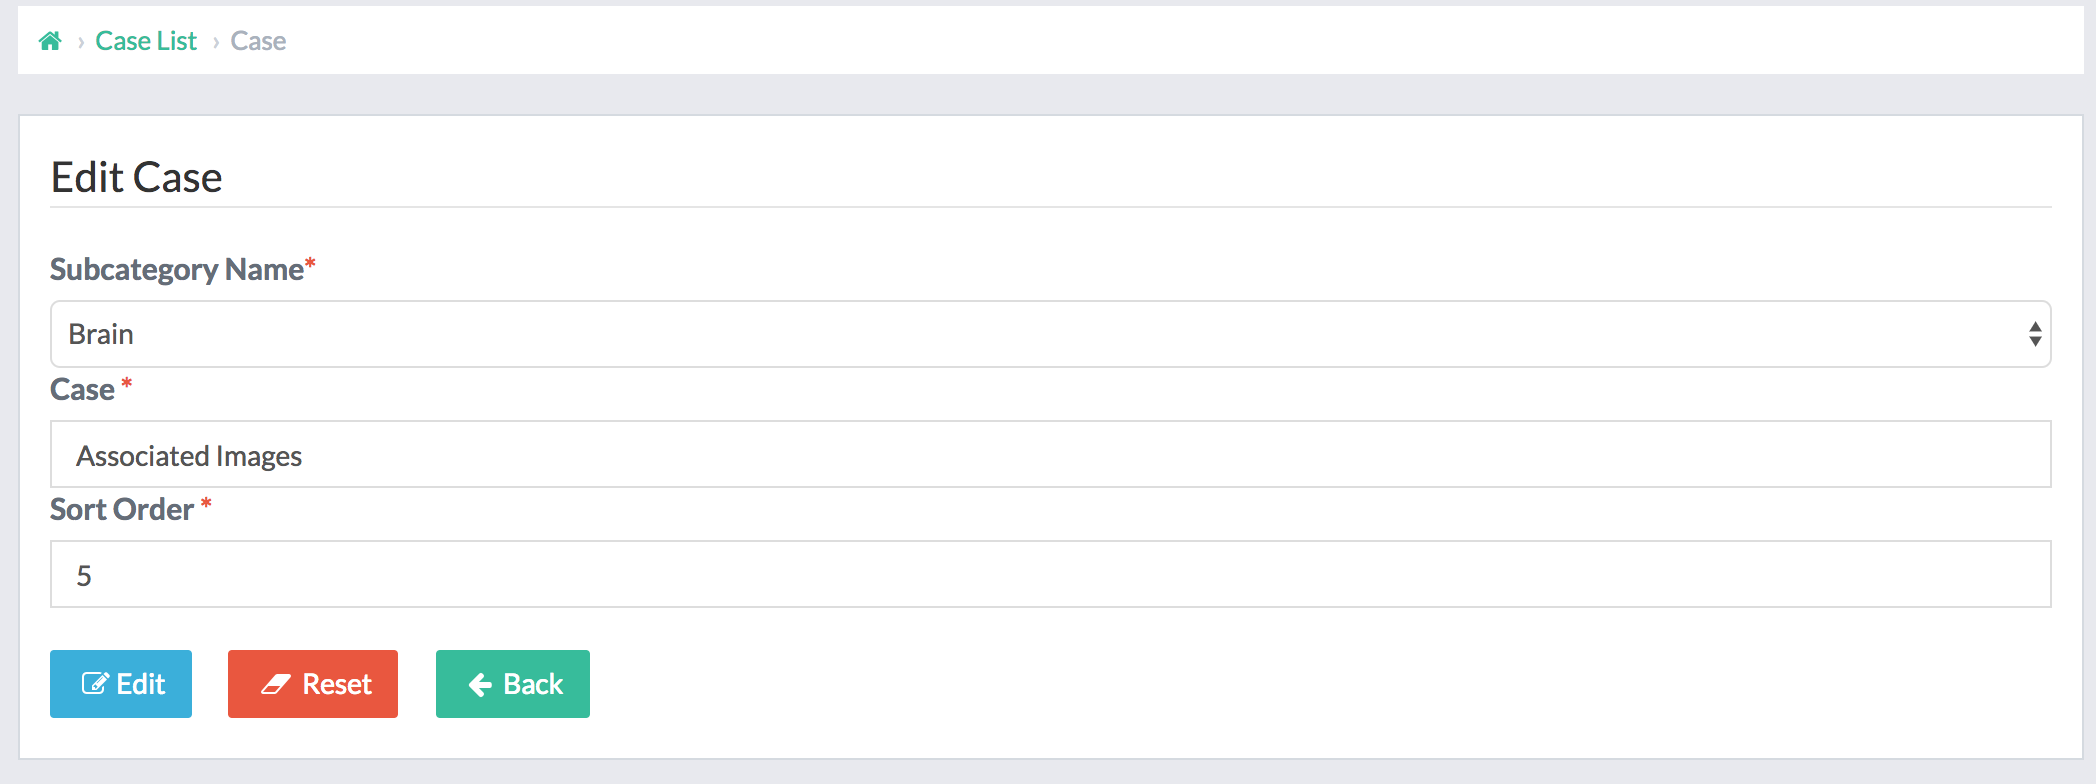
These represent the buttons on the subcategory landing page. There are only three attributes associated with each Case Selector item:
- SubCategory Name: each case selector button must be nested within a subcategory
- Case: name of case displayed on button within subcategory landing page
- Sort order: position of the Case Selector button relative to the others
Further Explanation:
Cases:
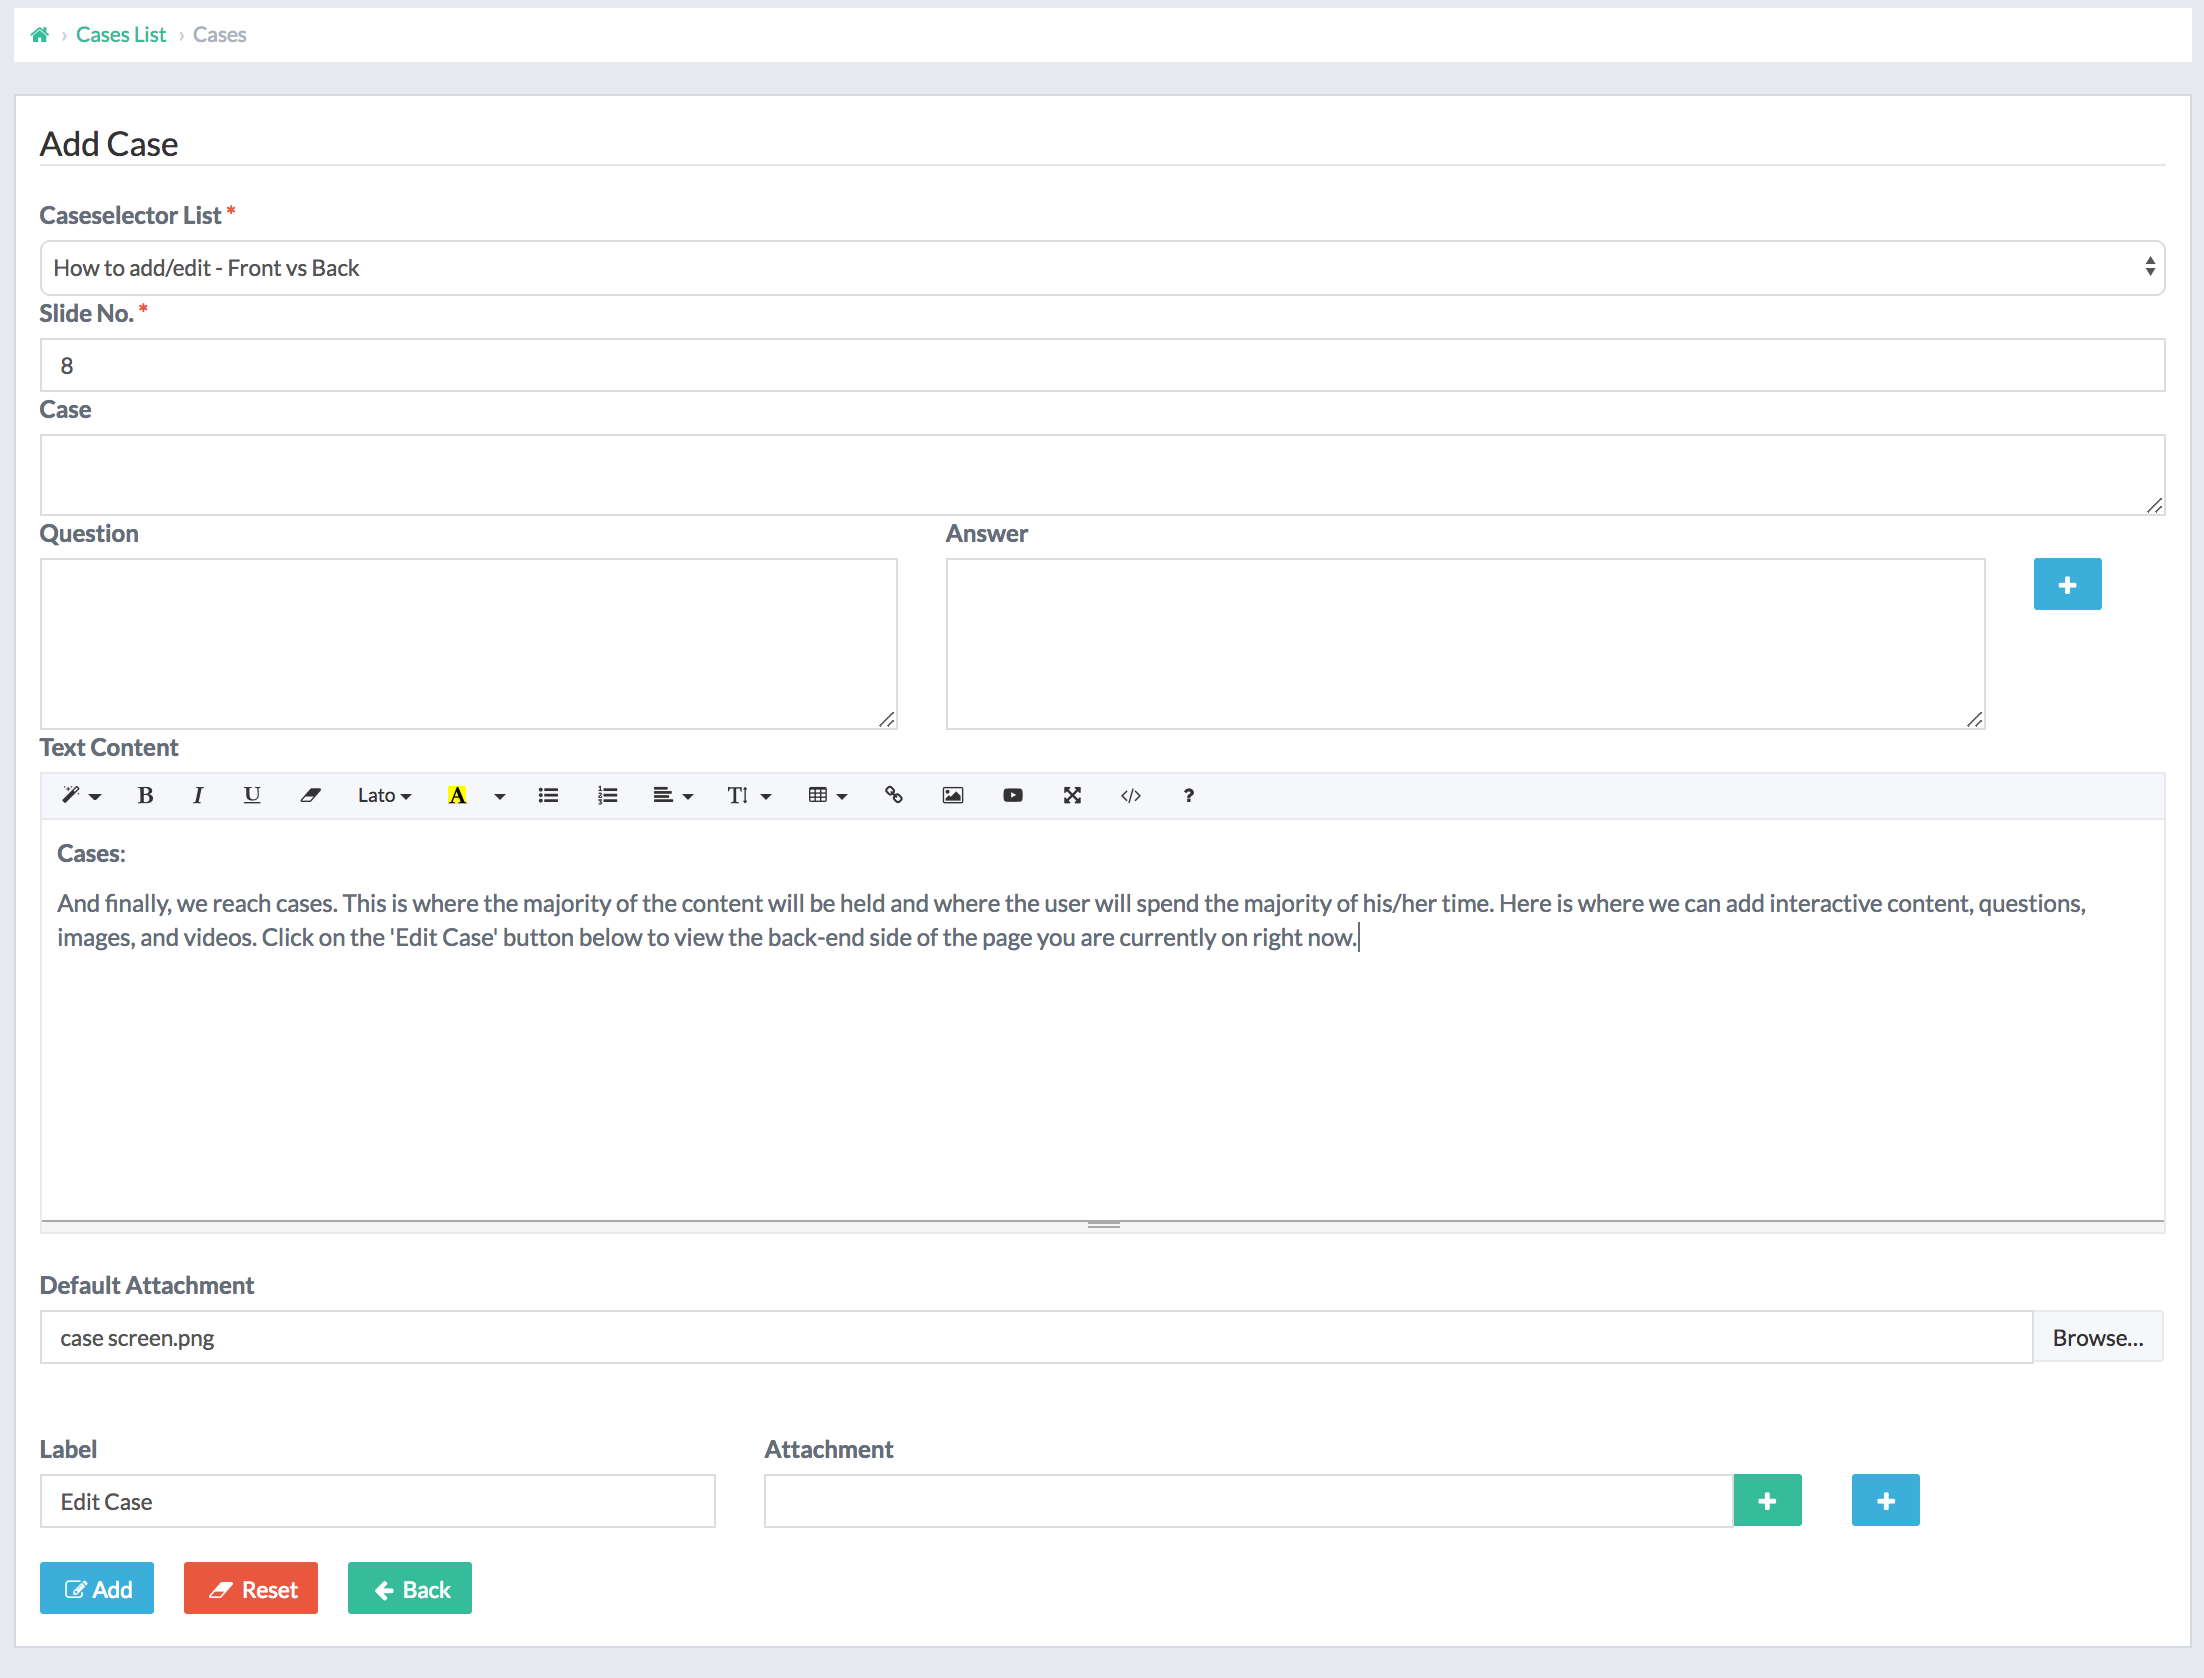
And finally, we reach cases. This is where the majority of the content will be held and where the user will spend the majority of his/her time. Here is where we can add interactive content, questions, images, and videos. Click on the 'Edit Case' button below to view the back-end side of the page you are currently on right now.
